The Secret to Perfect Loaded Chili Cheese Fries (Better Than Takeout)

Crispy, golden fries smothered in savory chili and melted cheese – loaded chili cheese fries are the ultimate indulgence that never fails to satisfy cravings. While takeout versions often disappoint with soggy fries and bland chili, I’ve discovered that making them at home elevates this classic to new heights.
In fact, with just 30 minutes of prep time and 90 minutes of cooking time, you can create the appetizer of your dreams. Whether you prefer using frozen french fries cooked to crispy perfection in an air fryer or making them from scratch, this homemade chili cheese fries recipe is surprisingly versatile. This crowd-pleaser works equally well as a game day snack or a hearty dinner option that both kids and adults will love. The best chili cheese fries balance crispy texture with rich flavors, and learning how to make chili cheese fries at home gives you complete control over ingredients and portions.
Throughout this guide, I’ll share my tried-and-tested secrets for creating easy chili cheese fries that are baked, crispy, and full of flavor. From selecting the right ingredients to proper assembly techniques, you’ll discover everything needed to make this comfort food classic better than any restaurant version.
Choosing the Right Ingredients for the Best Chili Cheese Fries
The foundation of exceptional loaded chili cheese fries begins with carefully selected ingredients. Let’s break down each component to ensure your homemade creation surpasses any takeout version.
Types of fries: frozen, homemade, or air-fried
The shape and style of your fries significantly impact the final result. Waffle-cut fries stand out as the ideal choice because their wide surface and distinctive pattern create perfect pockets to catch toppings, ensuring each bite contains a bit of everything. Alternatively, thicker options like steak fries or crinkle-cut varieties offer sturdy bases that hold up well under heavy toppings.
For cooking methods, frozen fries provide convenience without sacrificing quality. Air frying at 400 degrees for approximately 15 minutes delivers exceptional crispiness. Furthermore, oven-baked fries work well when spread in a single layer on a baking sheet. Although homemade fries require more effort, they offer customizable thickness and seasoning.
Best cheese options for melting
Cheese selection dramatically affects both flavor and texture. Sharp cheddar remains the classic choice, offering robust flavor and excellent melting properties. However, consider these alternatives:
- Mozzarella for its legendary stretchiness and mild flavor
- Monterey Jack for creamy, slightly nutty notes
- Gouda for rich, complex taste
Hand-grated cheese from blocks melts significantly better than pre-shredded varieties, which contain anti-caking agents that hinder smooth melting. Additionally, combining grated cheese directly on fries with a creamy cheese sauce creates the ultimate texture experience.
Chili: canned vs. homemade
Both canned and homemade chili work effectively, but each offers distinct advantages. Canned chili provides convenience and consistent flavor, particularly when choosing chunky varieties. Meanwhile, homemade chili allows complete control over ingredients and thickness.
Regardless of choice, thickness matters tremendously. A thick chili prevents soggy fries and stays put when stacked. For homemade versions, simmer until reaching a hearty consistency or drain excess liquid before serving.
Optional toppings to elevate flavor
The right toppings transform good chili cheese fries into extraordinary ones:
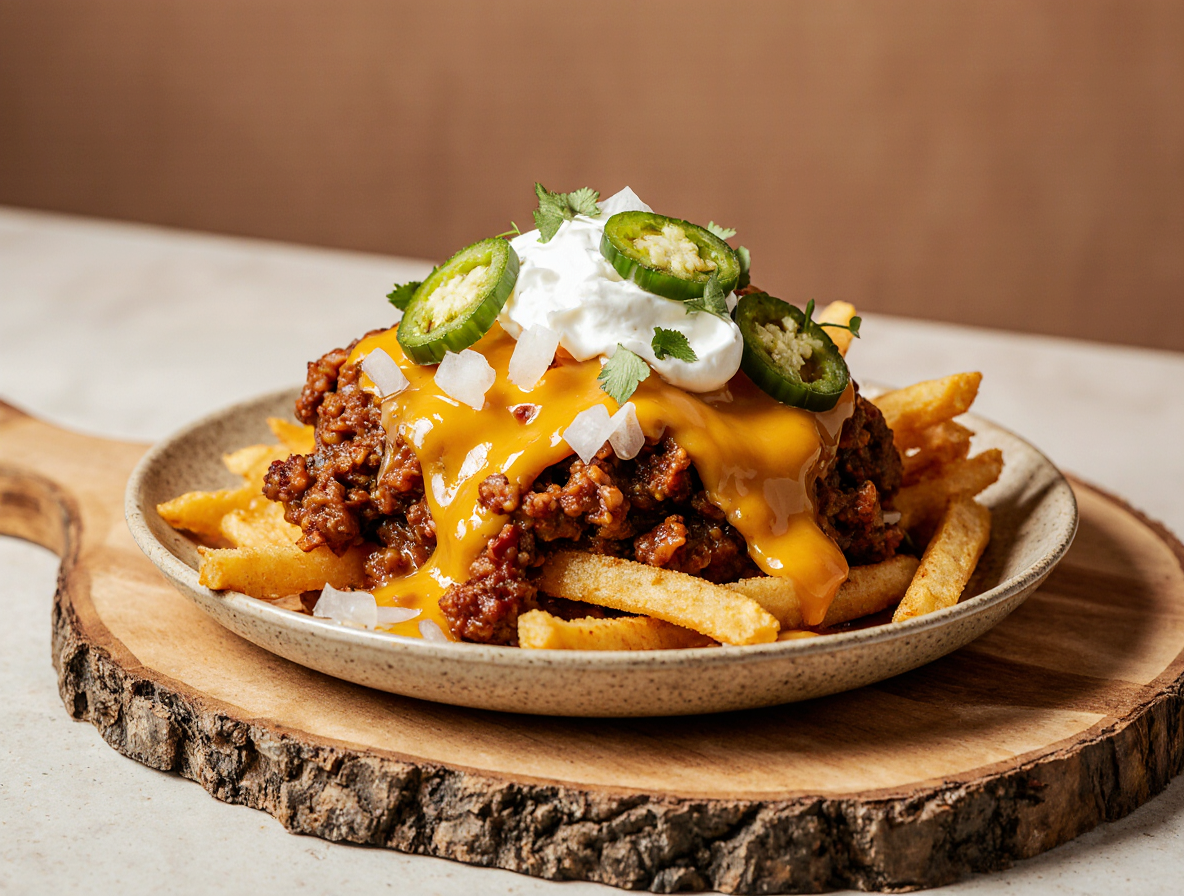
- Classic additions: sour cream (cooling contrast), diced red onions (sharp crunch), jalapeños (heat), and chopped cilantro (freshness)
- Creative options: crispy bacon bits, diced avocado, chopped tomatoes, or black olives
- Healthier alternatives: Greek yogurt instead of sour cream or fresh avocado salsa
Distributing toppings evenly ensures balanced flavor throughout rather than concentrating everything in one area. Moreover, serving certain toppings like sour cream on the side allows guests to customize their portions.
How to Make the Perfect Homemade Chili
The heart of spectacular loaded chili cheese fries lies in the chili itself. A well-made homemade chili brings depth, texture, and richness that simply can’t be matched by store-bought alternatives.
Cooking the meat and aromatics
For truly exceptional homemade chili cheese fries, start by heating oil in a large pot over medium-high heat. If using ground beef, consider browning it before breaking it up for deeper flavor. When cooking the meat, season with salt and pepper directly during this phase rather than later.
Once browned (about 3-4 minutes), drain excess grease if needed. Next, add diced onions to the pot with the meat and cook for another 3-4 minutes until softened. Subsequently, add minced garlic and cook just 30 seconds more – this prevents garlic from burning and turning bitter.
The “fond” (those caramelized bits that stick to the pan) contains concentrated flavor compounds, so don’t scrape the pan clean yet! These bits will dissolve into the chili later, enhancing overall taste.
Adding spices and simmering
Prior to adding liquids, incorporate your spices directly into the meat-onion mixture. This crucial “blooming” process releases essential oils from the spices, intensifying their flavors. Generally, a combination of chili powder, cumin, smoked paprika, and oregano creates a balanced profile.
For unexpected complexity, consider these secret ingredients:
- A tablespoon of unsweetened cocoa powder
- A teaspoon of finely ground coffee
- A splash of white vinegar added at the end
After adding tomatoes and stock, bring everything to a simmer. Though some recipes suggest quick cooking, allowing your chili to simmer uncovered for 30-90 minutes develops significantly better flavor fusion.
Tips for thickening or thinning the chili
The ideal chili for loaded fries should be thick enough to stay put when spooned over the potatoes. If your chili seems too thin, try:
- Mashing some beans against the side of the pot with a fork to release their natural starches
- Creating a cornstarch slurry (equal parts cold water and cornstarch) and stirring it in
- Adding a tablespoon of masa harina or cornmeal and simmering for 10 more minutes
- Simply removing the lid and allowing excess moisture to evaporate
Conversely, if your chili becomes too thick, gradually stir in small amounts of beef broth until reaching the desired consistency.
Assembling and Baking Your Loaded Fries
The secret to exceptional loaded chili cheese fries lies in the assembly and baking process. Proper technique transforms ordinary ingredients into an irresistible dish that rivals any restaurant version.
Layering fries, cheese, and chili
Assembly order matters tremendously when creating perfect homemade chili cheese fries. Initially, spread your cooked fries in a single layer on a baking sheet or oven-safe skillet. This crucial first step ensures each fry receives equal exposure to toppings.
Next, add a layer of shredded cheese directly on the hot fries. This first cheese layer serves two purposes: it adds flavor and creates a protective barrier between fries and chili. Second, carefully spoon your prepared chili over this cheese layer. Finally, sprinkle another generous portion of cheese on top to create that classic melted finish.
Baking vs. broiling: which is better?
Both methods have distinct advantages when finalizing your loaded chili cheese fries. Baking at around 425°F provides even heat distribution, cooking food completely through. This method works wonderfully for ensuring all components reach the same temperature.
In contrast, broiling uses intense, direct heat (usually 500-550°F) from one direction, creating a beautifully browned top in less time. For the absolute best results, consider combining approaches: first bake assembled fries at 425°F for about 5-7 minutes until thoroughly heated, then switch to broil for 1-3 minutes to achieve that perfect golden-brown cheese finish.
How to avoid soggy fries
Nothing ruins loaded chili cheese fries faster than sogginess. Follow these essential strategies to maintain crispiness:
- Ensure fries are extra crispy before adding toppings
- Create a cheese barrier between fries and chili
- Use thicker chili that won’t soak into fries
- Serve immediately after assembly and baking
Indeed, timing is everything – these loaded treats taste best when served right away. As one expert notes: “The longer the fries sit under the chili and cheese, the more likely they are to get soggy.”
Toppings and Variations to Try
What separates ordinary chili cheese fries from extraordinary ones often boils down to the toppings and creative variations you choose. The right combination can elevate your homemade creation into something truly remarkable.
Classic toppings: sour cream, jalapeños, onions
The traditional toppings for loaded chili cheese fries create a perfect balance of flavors and textures. A dollop of cool sour cream provides welcome contrast to the spicy chili, specifically cutting through richness while adding creaminess. Sliced jalapeños deliver essential heat that complements the savory base. Furthermore, diced red onions contribute a sharp crunch alongside subtle bite.
For maximum impact, consider these additional classic additions:
- Fresh cilantro sprinkles for brightness and color
- Sliced scallions for milder onion flavor
- Diced tomatoes for juicy freshness
- Crumbled bacon bits for smoky depth
Healthier swaps: Greek yogurt, avocado salsa
Nonetheless, many home cooks seek nutritious alternatives without sacrificing flavor. Greek yogurt makes an excellent substitute for sour cream, offering comparable tanginess with additional protein and less fat. Actually, whole-milk Greek yogurt works best as it provides similar creaminess to sour cream.
Avocado salsa delivers another nutritional upgrade worth trying. Unlike standard salsa, this creamy variant combines avocados, tomatoes, onions, jalapeño, lime juice, and cilantro for a refreshing twist. Soon after making it, you’ll discover it works perfectly as both a topping and a side dip for your homemade chili cheese fries.
Creative twists: nacho-style, Tex-Mex, vegetarian
Experimenting with different styles opens up endless possibilities for your chili cheese fries recipe. Nacho-style versions feature creamy queso instead of shredded cheese, alongside Pico de gallo and corn salsa. Essentially, Tex-Mex variations incorporate black beans, fresh corn, and avocado slices with a generous helping of cheese.
Vegetarian adaptations deserve special attention. Unlike traditional recipes, these substitute meat-based chili with protein-rich alternatives like lentils, chickpeas, or extra beans. Vegetarian versions can be customized with plant-based cheese alternatives or nutritional yeast for that cheesy flavor without dairy.
Consider setting up a DIY topping station when serving easy chili cheese fries at gatherings. This allows everyone to customize their portion according to preference – undoubtedly the most crowd-pleasing approach to serving the best chili cheese fries possible.
Conclusion
Throughout this guide, we’ve explored how to transform a simple comfort food into something extraordinary. Homemade chili cheese fries undoubtedly surpass any takeout version when you combine the right ingredients and techniques.
First and foremost, selecting the perfect fries creates your foundation – whether you prefer waffle-cut, steak fries, or homemade versions. Likewise, quality cheese makes all the difference, especially when hand-grated for superior melting. The chili itself deserves special attention, as a well-crafted homemade recipe brings depth and character that canned varieties simply can’t match.
Proper assembly stands as another critical factor. The layering technique I’ve shared prevents soggy fries while ensuring every bite contains the perfect balance of flavors. Additionally, the right cooking method – combining baking with a quick broil – creates that irresistible golden-brown finish that makes your creation truly crave-worthy.
Last but certainly not least, toppings allow endless customization. From classic combinations to healthier alternatives or creative twists, these final touches transform good chili cheese fries into an unforgettable dish.
Armed with these secrets, you’ll never need to settle for disappointing takeout again. Though the process takes slightly more effort than ordering in, the results speak for themselves – crispy, flavorful, perfectly balanced loaded fries that disappear almost as quickly as you serve them. After all, nothing beats the satisfaction of creating restaurant-quality comfort food right in your own kitchen.
FAQs
Q1. What are the best toppings for chili cheese fries? Classic toppings include sour cream, jalapeños, and diced onions. For added flavor, try chopped scallions, fresh cilantro, diced tomatoes, or crumbled bacon. Healthier alternatives include Greek yogurt instead of sour cream or avocado salsa for a nutritious twist.
Q2. How can I prevent my chili cheese fries from getting soggy? To avoid soggy fries, ensure they’re extra crispy before adding toppings, create a cheese barrier between the fries and chili, use thicker chili that won’t soak into the fries, and serve immediately after assembly and baking.
Q3. What’s the secret to making perfect homemade chili for fries? The key to great homemade chili is browning the meat well, blooming the spices, and allowing it to simmer for 30-90 minutes. For added complexity, try adding a tablespoon of unsweetened cocoa powder or a teaspoon of finely ground coffee to your spice mix.
Q4. Can I make vegetarian chili cheese fries? Absolutely! You can create delicious vegetarian versions by substituting meat-based chili with protein-rich alternatives like lentils, chickpeas, or extra beans. Use plant-based cheese alternatives or nutritional yeast for a dairy-free cheesy flavor.
Q5. What’s the best method for melting cheese on chili fries? For the best melted cheese, use hand-grated cheese from blocks rather than pre-shredded varieties. Layer some cheese directly on the hot fries before adding chili, then top with more cheese. Bake at 425°F for 5-7 minutes, then broil for 1-3 minutes to achieve a perfect golden-brown finish.