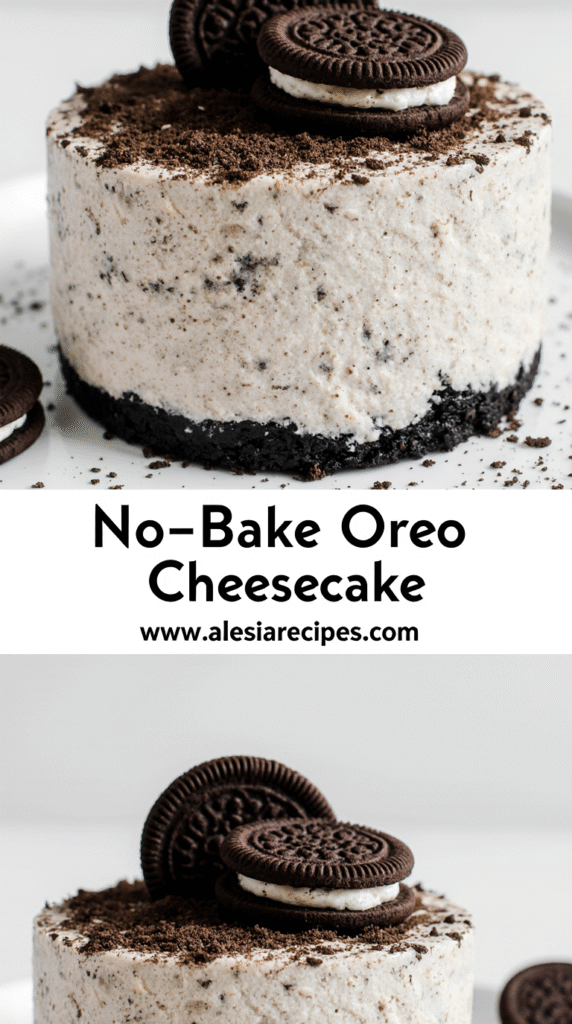
Perfect No Bake Oreo Cheesecake Recipe: Ready in Just 20 Minutes
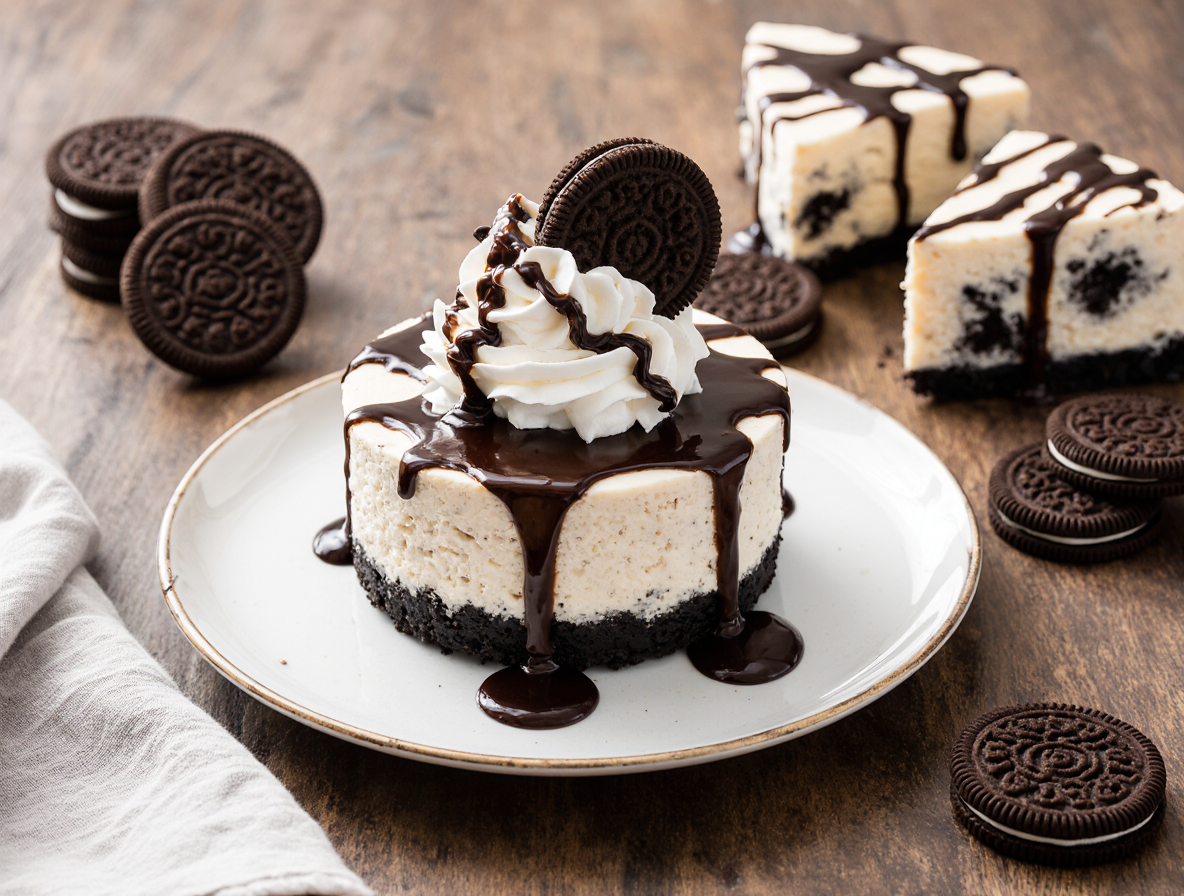
This no bake oreo cheesecake recipe combines two of life’s greatest pleasures—Oreos and cheesecake—into one irresistible dessert that can be prepared in under 20 minutes. Surprisingly, this indulgent treat uses Oreo cookies three ways: in the crust, mixed into the filling, and as a decorative topping.
If you’re wondering how to make no bake oreo cheesecake, you’ll be thrilled to know it’s actually one of the simplest desserts to prepare. This easy no bake oreo cheesecake recipe requires no oven time, just a few basic ingredients, and about 40 Oreos. Additionally, since it needs to chill for at least 4 hours before serving, it’s the perfect make-ahead dessert for parties or family gatherings. I especially love that once it’s assembled, all the hard work is done—you just need to exercise patience while it sets in the refrigerator!
Ingredients You’ll Need
For my perfect no bake oreo cheesecake recipe, gathering the right ingredients is half the battle won. The beauty of this dessert lies in its simplicity—just a handful of quality ingredients will yield spectacular results.
Oreo cookies (for crust, filling, and topping)
You’ll need approximately 36-40 Oreo cookies total for this recipe. I divide them into three portions: about 24 cookies for the crust, 8-10 crushed cookies to fold into the filling, and a few extras for decorating the top. Furthermore, there’s no need to remove the cream filling from the cookies—use them whole for the crust to create that perfect texture and flavor. When crushing Oreos for the crust, aim for fine crumbs that will hold together well.
Cream cheese: full-fat and softened
Full-fat cream cheese is absolutely non-negotiable for this recipe. You’ll need 16 ounces (two 8-ounce blocks) of Philadelphia-style cream cheese. The full-fat version provides the rich, creamy texture that makes cheesecake so delectable. Remember to take your cream cheese out of the refrigerator at least 30 minutes before making the recipe—softened cream cheese blends much more smoothly, preventing those dreaded lumps in your final product.
Powdered sugar and vanilla extract
To sweeten the cheesecake perfectly, you’ll need about 3/4 cup of powdered sugar. I prefer powdered sugar over granulated because it dissolves completely into the cream cheese, ensuring a silky-smooth texture. Alongside this, 1-2 teaspoons of pure vanilla extract adds depth and warmth to the flavor profile. As a result, these two ingredients work together to balance the tanginess of the cream cheese without overwhelming the distinctive Oreo taste.
Heavy whipping cream or Cool Whip
You have two excellent options here: either 1 cup of heavy whipping cream that you’ll whip yourself, or 8 ounces of pre-made Cool Whip. The heavy cream option allows more control over sweetness and texture, yet requires an additional step. On the other hand, Cool Whip offers convenience with consistent results. Whichever you choose, this ingredient creates the light, airy texture that makes no-bake cheesecakes so irresistible.
Butter for the crust
Lastly, you’ll need 5-6 tablespoons of melted butter for the crust. I typically use unsalted butter to control the overall saltiness, though salted works fine too. The butter’s primary job is to bind the Oreo crumbs together, creating a firm foundation for your cheesecake that won’t crumble when sliced. Consequently, the butter helps achieve that perfect contrast between the crunchy base and creamy filling.
How to Make No Bake Oreo Cheesecake
Making this no bake oreo cheesecake recipe is incredibly straightforward, even for beginners. Let me walk you through the process step by step.
1. Prepare the Oreo crust
Initially, you’ll need to create a sturdy foundation for your cheesecake. Pulse whole Oreos (with filling intact) in a food processor until they become fine crumbs. Pour the melted butter into the crumbs and mix until thoroughly combined. Press this mixture firmly into the bottom and about 1 inch up the sides of a springform pan. Use a flat-bottomed measuring cup to pack the crust tightly—this prevents a crumbly mess when serving. Then place the crust in the refrigerator or freezer for at least 10 minutes to firm up while you prepare the filling.
2. Beat the cream cheese mixture
For the filling, make sure your cream cheese is at room temperature—cold cream cheese will create lumps that are nearly impossible to remove. In a large bowl, beat the cream cheese, sugar, and vanilla extract together until perfectly smooth and creamy. Take your time with this step; it typically requires 1-2 minutes of mixing. A hand mixer works perfectly here, but avoid overmixing as it can break the emulsion.
3. Whip the cream to stiff peaks
In a separate bowl, vigorously whip the heavy cream until stiff peaks form. This means that when you lift your beaters out of the bowl, the peaks of whipped cream should stand straight up without flopping over. This step usually takes about 4-5 minutes on medium-high speed. The whipped cream provides the airy, light texture that makes no-bake cheesecakes so delightful.
4. Fold everything together
Now comes the crucial part—gently fold the whipped cream into the cream cheese mixture using a rubber spatula. Do this carefully to maintain the air bubbles that create that light, fluffy texture. Afterward, fold in the chopped Oreos. Some recipes call for both Oreo crumbs and chopped Oreo pieces for varied texture. The goal is to distribute everything evenly without deflating the mixture.
5. Chill and set in the fridge
Pour the completed filling onto your chilled crust and spread it evenly using an offset spatula or the back of a spoon. Cover the pan tightly with plastic wrap and refrigerate for a minimum of 4-6 hours, though overnight is best for the perfect set. Proper chilling is essential—rushing this step will result in a too-soft cheesecake that won’t slice cleanly.
Tips for the Best No Bake Oreo Cheesecake
Want to elevate your no bake oreo cheesecake from good to outstanding? These pro tips make all the difference.
Use room temperature cream cheese
Cold cream cheese is the number one culprit behind lumpy cheesecake filling. For a perfectly smooth texture, I always take my cream cheese out of the refrigerator at least one hour before mixing. This allows the cream cheese to soften completely, creating that velvety consistency we all crave. In a rush? Cut the cream cheese into small cubes to speed up the softening process—this typically takes only 20-30 minutes. Alternatively, remove the foil packaging, place in a bowl of warm water for about 10 minutes, or microwave in short 10-second bursts.
Chill for at least 4 hours
Patience truly pays off with no bake oreo cheesecake. Although the minimum chilling time is 4 hours, the texture improves dramatically with longer refrigeration. For the best results, I recommend refrigerating your cheesecake overnight. During this time, something magical happens—the filling transforms from a soft, mousse-like texture to a firm, sliceable cheesecake. Moreover, the moisture from the filling seeps slightly into the crust, creating perfect cohesion between layers.
Don’t overmix the whipped cream
The secret to that perfect light-yet-firm texture lies in how you handle the whipped cream. Whip your heavy cream just until stiff peaks form—about 4-5 minutes on medium-high speed. Once incorporated, fold it gently into your cream cheese mixture until barely combined. Overmixing at this stage can deflate the air bubbles, resulting in a dense rather than fluffy cheesecake. Essentially, those tiny air pockets create the ideal mousse-like consistency that makes no-bake cheesecakes irresistible.
Use a springform pan for easy removal
Indeed, a springform pan is your best friend when making no bake oreo cheesecake. The removable sides make it infinitely easier to present and slice your masterpiece with clean, professional-looking edges. Primarily, I recommend a 9-inch springform pan, packed tightly with the crust mixture. Meanwhile, if you don’t own a springform pan, a deep-dish pie plate works as an alternative—just line it with parchment paper for easier removal.
Fun Variations and Toppings
Once you’ve mastered the basic no bake oreo cheesecake recipe, it’s time to get creative with these fun variations and toppings that take this dessert to the next level.
Mini cheesecakes in cupcake liners
Transform your no bake oreo cheesecake into adorable individual servings by using a muffin tin lined with cupcake liners. To begin with, place a whole Oreo at the bottom of each liner as an instant crust. Alternatively, you can use crushed Oreos mixed with butter as you would for a full-sized cheesecake. Fill each liner with the cheesecake mixture, leaving some room at the top for toppings. After setting, these mini treats make sharing exceptionally easy and are perfect for parties. For a finished look, sprinkle additional crushed cookies on top and press down gently to ensure they stick.
Try different Oreo flavors
The versatility of this simple no bake oreo cheesecake recipe truly shines when you experiment with different Oreo varieties. Accordingly, consider these options:
- Golden Oreos for a vanilla-based cheesecake
- Mint Oreos for a refreshing twist
- Birthday Cake Oreos for a festive celebration dessert
- Peanut Butter Oreos for a nutty variation
- Lemon Oreos for a citrusy summer treat
First thing to remember is that each flavor creates an entirely different dessert experience without changing the basic recipe. In particular, seasonal and limited-edition Oreos can turn this into a holiday-themed dessert—try Halloween Oreos with orange food coloring for a “Cookies and SCREAM” Halloween cheesecake.
Add chocolate ganache or fruit toppings
Elevate your best no bake oreo cheesecake recipe with luxurious toppings. For chocolate lovers, prepare a simple ganache by combining chocolate and heavy cream, warming in 20-second microwave increments until melted. Pour this over your set cheesecake for an extra layer of richness.
Coupled with whipped cream and halved Oreos, these toppings create a professional-looking dessert. Besides chocolate, consider these creative additions:
- Fresh raspberries mixed into the filling or as a raspberry compote topping
- Peanut butter or Nutella swirled throughout
- White chocolate shavings for elegant decoration
Use Cool Whip for a shortcut version
Pressed for time? The easy no bake oreo cheesecake recipe works wonderfully with Cool Whip instead of freshly whipped cream. Simply substitute one 8-ounce container of whipped topping for the heavy cream and decrease the powdered sugar to about 1½ cups to balance the sweetness. Given that Cool Whip maintains its structure well, this substitution often results in a more foolproof setting process. However, homemade whipped cream typically offers better flavor, making this a trade-off between convenience and taste.
Conclusion
This no bake oreo cheesecake truly stands as a dessert superstar for both novice and experienced bakers alike. After all, few recipes manage to combine such impressive results with minimal effort. The combination of crunchy Oreo crust, creamy cheesecake filling studded with cookie pieces, and decorative toppings creates a dessert that looks and tastes like it came from a professional bakery.
What makes this recipe particularly special is its versatility. You can stick with classic Oreos or experiment with seasonal flavors for holiday gatherings. Additionally, the ability to prepare this dessert ahead of time makes it perfect for busy hosts who want to impress without last-minute stress.
Remember that patience plays a crucial role in achieving the perfect texture. Though waiting those 4+ hours might test your willpower, the final result will certainly reward your restraint. The contrast between the crunchy base and velvety filling simply cannot be rushed.
Most importantly, don’t hesitate to make this recipe your own. Whether you opt for mini versions, experiment with different Oreo flavors, or add special toppings, the basic technique remains foolproof. I hope this recipe becomes a favorite in your dessert collection – one that family and friends request time and again. The next time you need a crowd-pleasing, stress-free dessert, this no bake oreo cheesecake will undoubtedly save the day!
FAQs
Q1. How long does it take to prepare this No Bake Oreo Cheesecake? The preparation time for this cheesecake is just 20 minutes. However, it needs to chill in the refrigerator for at least 4 hours before serving.
Q2. Can I use different flavors of Oreos for this recipe? Absolutely! You can experiment with various Oreo flavors like Golden, Mint, Birthday Cake, Peanut Butter, or Lemon to create different taste experiences.
Q3. Is it necessary to use a springform pan for this cheesecake? While a springform pan is ideal for easy removal and presentation, you can use a deep-dish pie plate lined with parchment paper as an alternative.
Q4. Can I make individual servings of this cheesecake? Yes, you can create mini cheesecakes using a muffin tin lined with cupcake liners. Place a whole Oreo at the bottom of each liner as the crust and fill with the cheesecake mixture.
Q5. What’s the secret to achieving a smooth, lump-free cheesecake filling? The key is to use room temperature cream cheese. Take it out of the refrigerator at least an hour before mixing, or cut it into small cubes to speed up the softening process.