How to Make No-Bake Strawberry Cheesecake Bars: A Fool-Proof Guide

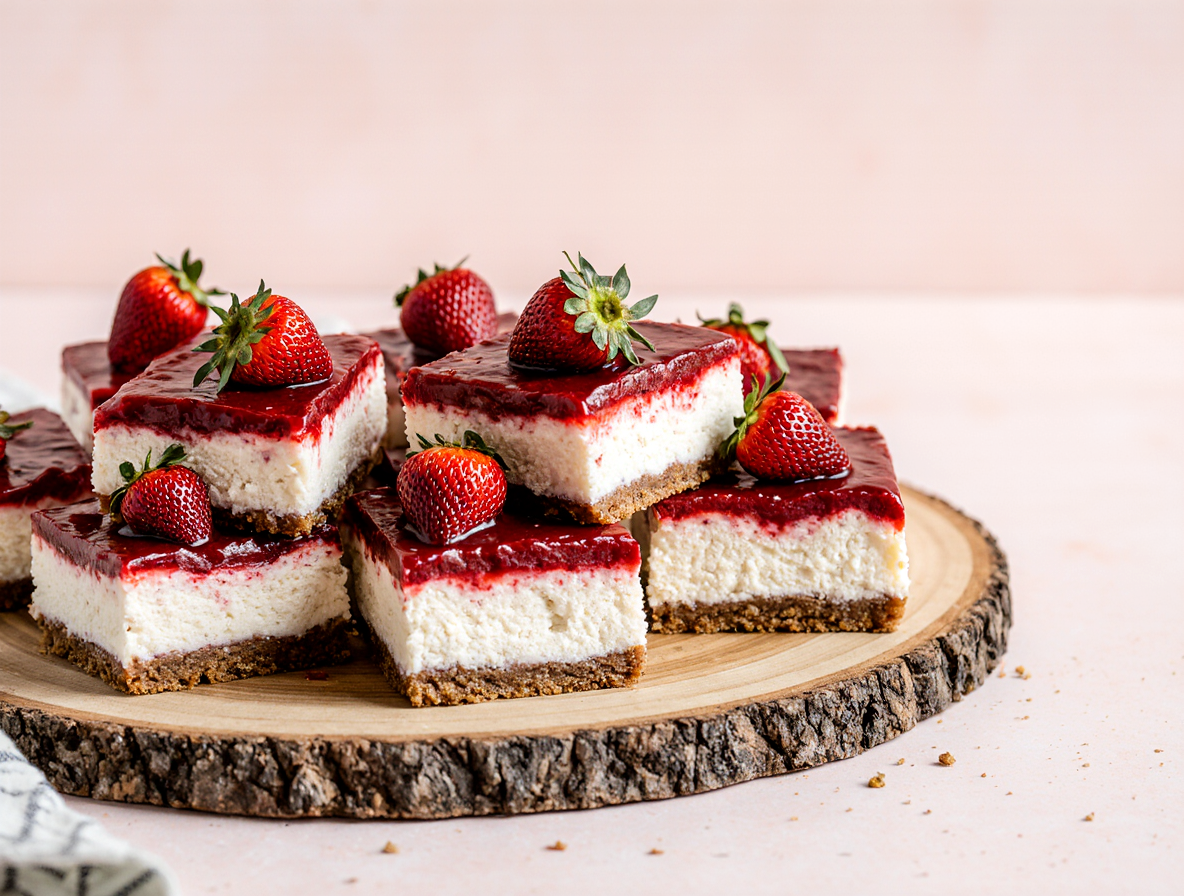
Looking for a delicious dessert that takes just 30 minutes to prepare but tastes like you spent hours in the kitchen? These strawberry cheesecake bars no bake
are exactly what you need! Indulgent, creamy, and bursting with fresh strawberry flavor, they’re perfect for summer potlucks, barbecues, and other gatherings.
We love how these no-bake cheesecake bars transform when chilled—the colder they get, the more their texture resembles ice cream. Our easy strawberry
cheesecake bars recipe requires minimal effort but delivers maximum flavor. After preparing the no bake cream cheese bars, you’ll need to chill them for at least
6-8 hours before serving , though overnight setting yields the best results. The good news? You can store this no-bake strawberry cheesecake recipe in the
freezer for up to 2 weeks.
Ready to create this crowd-pleasing dessert that combines the perfect balance of sweet, tangy, and refreshing flavors? Let’s get started with our fool-proof guide!
Gather Your Ingredients and Tools
Success with no-bake strawberry cheesecake bars begins with assembling the right ingredients and tools. Getting everything organized first makes the entire
process flow smoothly and ensures your dessert turns out perfectly each time.
Essential ingredients for crust, filling, and topping
For the Graham Cracker Crust: The foundation of your strawberry cheesecake bars no bake starts with a simple crust requiring just three ingredients. You’ll
need about 2 cups (200 grams) of graham cracker crumbs, which equals approximately 16 full cracker sheets [1]. Additionally, you’ll need ¼ cup (55 grams) of
packed brown sugar and ½ cup (225 grams) of melted butter [1]. The moisture in brown sugar helps solidify the crust [2], creating that perfect sturdy base.
For the Cheesecake Filling: The star component requires 16 ounces (455 grams) of full-fat cream cheese—avoid spreadable versions as they won’t set properly
[3]. You’ll also need ½ cup (100 grams) granulated sugar, 1 teaspoon vanilla extract, and 1½ cups (375 ml) heavy whipping cream [1]. Some recipes include 1
tablespoon of lemon juice to add a subtle tanginess [4].
For the Strawberry Topping: Prepare 1½ pounds (680 grams) of hulled and chopped strawberries [1]. You’ll need 1 cup (200 grams) granulated sugar, 2
tablespoons cornstarch, 2 tablespoons water, and 1 tablespoon lemon juice [1]. This combination creates that perfect glossy strawberry topping.
Recommended tools for easy prep
First thing to remember, having the right tools makes creating no-bake cheesecake bars significantly easier:
•
•
Food processor – For crushing graham crackers into fine crumbs [1]
8×8-inch baking dish – Either glass or metal works since these bars aren’t baked [1]
• Mixing bowls – For preparing different components separately
•
Electric mixer – Either stand or handheld for perfectly whipped filling [1]
• Measuring cups and spoons – For accurate ingredient measurements
•
•
Offset spatula – Helps smooth layers evenly [1]
Citrus juicer – For extracting fresh lemon juice efficiently [1]
Tips for choosing fresh or frozen strawberries
Fresh strawberries offer vibrant flavor and juicy texture, making them highly preferred for this recipe [1]. However, frozen strawberries provide year-round
convenience [3]. Important to realize, if using frozen berries, thaw and drain away excess liquid completely [1] since too much moisture prevents proper setting [5].
For fresh berries, rinse thoroughly under cold water, then pat dry with paper towels [3]. This removes residue while preventing excess water from thinning your
strawberry topping. During peak season, fresh strawberries deliver optimal flavor, although frozen ones work effectively in the cooked topping.
Step-by-Step: Making the Crust, Filling, and Topping
Now that everything is prepped, let’s jump into making these delectable strawberry cheesecake bars no bake. The process is straightforward yet yields
professional-looking results that will impress family and friends.
1. Prepare the graham cracker crust
Begin by lining an 8-inch square baking pan with parchment paper, leaving overhang on all sides for easy removal later [6]. In a food processor, pulse graham
crackers until they form fine crumbs—the finer the crumbs, the better your crust will hold together [6]. Pour crumbs into a bowl, add brown sugar, and stir before
mixing in melted butter until the mixture resembles wet sand [7]. Press the mixture firmly into the bottom of your pan using a flat-bottomed measuring cup [8]. Apply
firm pressure to create a solid base that won’t crumble when sliced. Refrigerate while preparing the filling.
2. Make the creamy cheesecake filling
In a large bowl, beat room temperature cream cheese and sugar until light and fluffy, about 2-3 minutes [1]. Add vanilla extract and lemon juice, then beat until
smooth, scraping down the sides occasionally. In a separate bowl, whip heavy cream until medium-stiff peaks form [9]. Gently fold the whipped cream into the
cream cheese mixture in two additions [1]. This folding technique is crucial—use a spatula and fold carefully to maintain the airy texture that gives no bake cream
cheese bars their signature lightness.
3. Cook the strawberry topping (optional)
For the strawberry topping, combine chopped strawberries and sugar in a saucepan over medium heat [7]. In a small bowl, mix cornstarch with water to create a
slurry [10]. Once strawberries release their juices and start bubbling, add the cornstarch slurry and lemon juice [7]. Cook for about 10 minutes, stirring occasionally
until the mixture thickens [10]. Remove from heat and cool completely.
4. Assemble the layers
Spread the cheesecake filling evenly over the chilled crust using an offset spatula [11]. Subsequently, spoon the cooled strawberry topping over the cheesecake
layer, using a slotted spoon to control moisture [1]. For a decorative touch, swirl the topping gently using a butter knife [12]. Refrigerate your easy strawberry
cheesecake bars for at least 6-8 hours, preferably overnight, to set properly [9].
Chill, Slice, and Serve
Patience truly is the final ingredient in perfecting your no bake strawberry cheesecake bars. After all that mixing and layering comes the critical setting process
that transforms your creation from soft mixture to sliceable dessert.
How long to chill for best texture
For the optimal texture and clean-cutting ability, refrigerate your strawberry cheesecake bars no bake for at least 6-8 hours [1]. Generally, preparing them the day
before serving yields the best results, giving them plenty of time to set properly [1]. Avoid using the freezer to speed up chilling time as this can affect the texture
[1]. Furthermore, you’ll know they’re ready when pressing the top feels firm with no jiggle [13].
Tips for clean slicing
Getting picture-perfect squares requires a few techniques:
1.
Keep bars thoroughly chilled before cutting—cold bars slice more cleanly than room temperature ones [14].
2.
Use the hot knife method: heat a sharp knife under hot water, wipe dry, then make each cut [1][15]. Clean and reheat the knife between every slice [16].
3.
4.
Press straight down rather than sawing to maintain clean edges [17][16].
For ultra-clean cuts, try dental floss—grip ends tightly and pull down through the cake [18][19].
Serving suggestions for different occasions
Certainly, these versatile no-bake cheesecake bars can be customized for any event:
•
•
Potluck gatherings: Freeze overnight so they travel well [3].
Dinner parties: Add fresh berries, whipped cream, or chocolate sauce just before serving [5][6].
•
•
Family dessert: Offer a toppings bar so everyone can customize their slice [3].
Make-ahead dessert: Store in an airtight container in the refrigerator for up to 5 days [16] or freeze for 2-3 months [20][21].
Let bars stand at room temperature for about 10-30 minutes before serving if they’ve been frozen [22][23].
Pro Tips and Easy Variations
Ready to elevate your no bake strawberry cheesecake bars? These pro tips and creative variations will help you customize this versatile dessert for any occasion.
Using freeze-dried vs. fresh strawberries
Freeze-dried strawberries offer concentrated flavor without adding extra liquid to your no-bake cheesecake filling [2]. Unlike stovetop reductions, they maintain
bright, fresh flavor while providing vibrant color [2]. Moreover, fresh strawberries contain significant water that can prevent proper setting [6]. If using frozen berries
instead, thaw and drain completely before incorporating [1].
Substitutes for graham crackers
Biscoff cookies make an exceptional crust alternative, offering deeper caramel flavor and stronger spices [11]. Other excellent options include chocolate Oreos
(especially with strawberry filling), vanilla wafers for versatility, or gingersnaps for warm spice notes [24]. Indeed, almost any crunchy cookie works—even cereal
like Cinnamon Toast Crunch creates a delightfully textured base [25]. For something unexpected, try crushed pretzels for a sweet-salty combination [24].
How to make it ahead or store leftovers
Prepare the crust up to two days in advance—simply wrap tightly and refrigerate until needed [11]. Once assembled, the cheesecake bars remain fresh for 36-48
hours [11]. Ultimately, leftovers keep in an airtight container in the refrigerator for up to one week [2] or frozen for up to two months [6].
Turning it into a dip or parfait
Transform this recipe into a crowd-pleasing strawberry cheesecake dip served with graham crackers, cookies, or fresh fruit [4]. Alternatively, create elegant
parfaits by layering the components in individual glasses [26]. For a lighter version, add Greek yogurt to create a more tangy, less sweet dessert [26].
Conclusion
These no-bake strawberry cheesecake bars truly represent the perfect balance of simplicity and indulgence. Throughout this guide, we’ve shown how a handful of
quality ingredients can transform into a spectacular dessert with minimal effort. Most importantly, this recipe proves that impressive desserts don’t require hours in
the kitchen or advanced baking skills.
The versatility of these cheesecake bars stands out as one of their greatest strengths. Whether you choose fresh or frozen strawberries, graham crackers or
creative crust alternatives, the result remains consistently delicious. Additionally, the make-ahead nature of this dessert makes it perfect for busy hosts who want
to prepare something special without last-minute stress.
Your patience during the chilling process will undoubtedly be rewarded with perfectly set bars that slice beautifully and melt in your mouth. The contrast between
the buttery crust, creamy filling, and tangy strawberry topping creates a dessert experience that’s hard to beat.
We encourage you to experiment with the variations we’ve suggested. After all, this recipe serves as an excellent foundation for countless creative interpretations.
Therefore, don’t hesitate to make it your own by adjusting sweetness levels or trying different fruits based on seasonal availability.
The next time you need a crowd-pleasing dessert that looks professional yet requires no baking, remember these strawberry cheesecake bars. Your friends and
family will surely be impressed, and only you will know just how effortless they were to prepare!
FAQs
Q1. How long do these no-bake strawberry cheesecake bars need to chill? For the best texture and easy slicing, chill the bars for at least 6-8 hours,
preferably overnight. This allows the cheesecake to set properly and achieve the perfect consistency.
Q2. Can I use frozen strawberries instead of fresh ones? Yes, you can use frozen strawberries, but make sure to thaw and drain them completely before use.
Excess moisture can prevent the cheesecake from setting properly. Fresh strawberries are preferred for optimal flavor and texture.
Q3. What can I use instead of graham crackers for the crust? There are several alternatives to graham crackers for the crust. You can use Biscoff cookies,
chocolate Oreos, vanilla wafers, gingersnaps, or even crushed pretzels for a sweet-salty combination. Almost any crunchy cookie or cereal can work well.
Q4. How far in advance can I make these cheesecake bars? You can prepare the crust up to two days in advance. Once fully assembled, the cheesecake
bars stay fresh for 36-48 hours in the refrigerator. Leftovers can be stored in an airtight container in the fridge for up to one week or frozen for up to two months.
Q5. Can this recipe be turned into a dip or parfait? Absolutely! You can transform this recipe into a strawberry cheesecake dip served with graham crackers,
cookies, or fresh fruit. Alternatively, create elegant parfaits by layering the components in individual glasses for a different presentation.