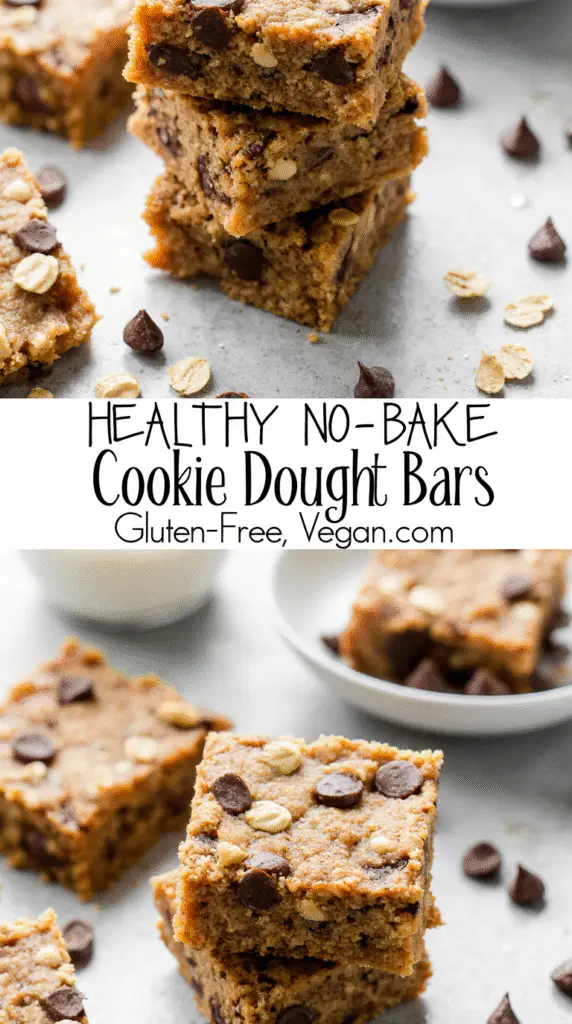
How to Make No Bake Cookie Dough Bars: A Foolproof Healthy Recipe (Vegan & GF)
Did you know no bake cookie dough bars can be ready in just 5 minutes with only six ingredients?
These aren’t your ordinary dessert bars. We’ve created the perfect healthy cookie dough bars that are completely vegan, gluten-free, dairy-free, soy-free,
nut-free, and even oil-free! Think rich, decadent cookie dough texture without any of the common allergens.
If you’re craving that irresistible cookie dough flavor but want something that aligns with your dietary needs, these bars are your answer. They’re especially
perfect for summer since they require zero baking and can be enjoyed by practically everyone.
What makes these healthy no bake cookie dough bars truly special is how they balance being both indulgent and wholesome. The dough comes together quickly
in a food processor, and the entire recipe takes less than 15 minutes to prepare. Then just chill, slice, and enjoy!
Throughout this article, we’ll walk you through our foolproof method for creating these deliciously decadent treats that taste just like real cookie dough—minus the
eggs, of course. Let’s get started!
Why These No-Bake Cookie Dough Bars Work
These no-bake cookie dough bars stand out from traditional desserts for several compelling reasons. Let me share why they’ve become my go-to treat for both
everyday snacking and special occasions.
Quick and easy to make
The beauty of these bars lies in their simplicity. You’ll only need about 15 minutes of active preparation time to create these delicious treats [1]. The food
processor does 95% of the work, making this recipe accessible even for beginners [2]. Furthermore, most versions require just 5-7 basic ingredients that you likely
already have in your pantry [3][4].
What makes this recipe truly outstanding is how straightforward the process is—simply mix your ingredients, press into a pan, add the chocolate topping, and let
the freezer do the rest of the work. Additionally, there’s no complicated techniques or special equipment needed—just a mixing bowl, spoon, and a medium loaf
pan will suffice [4].
No oven needed
During hot summer months, the last thing anyone wants is to heat up the house with a hot oven [3]. These no-bake cookie dough bars solve that problem
completely. Beyond just staying cool, these treats offer another advantage: they store beautifully in the freezer for weeks or even months [2][5].
This makes them perfect for batch preparation—I often make a double batch and keep them stored for whenever a sweet craving strikes. Moreover, their
freezer-friendly nature means you’ll always have a delicious dessert ready when unexpected guests arrive.
Kid-friendly and allergen-friendly
Perhaps the most impressive quality of these no-bake cookie dough bars is their adaptability to various dietary needs. They can be made:
• Gluten-free (using oat flour or almond flour)
• Dairy-free and vegan (using plant-based chocolate chips)
• Nut-free (substituting sunflower seed butter)
• Soy-free and oil-free options available
This versatility makes them perfect for school lunches, children’s parties, and potlucks where allergen concerns might exist [2]. Children absolutely love the cookie
dough texture and flavor, while parents appreciate the healthier ingredient profile compared to store-bought alternatives [6].
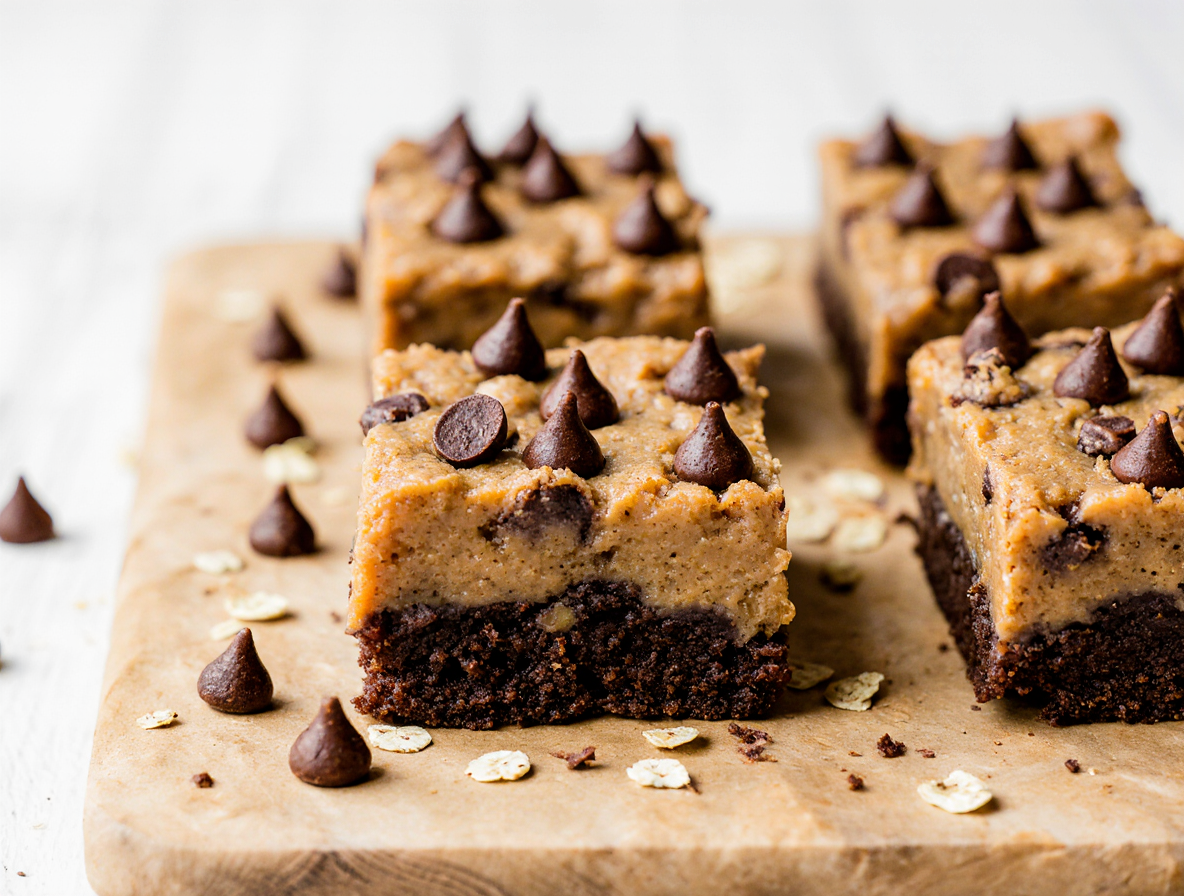
The bars maintain that authentic cookie dough flavor and texture everyone craves, yet they’re made with wholesome ingredients that make them a better choice
than traditional cookie dough filled with raw eggs and refined sugars.
Essential Ingredients and Substitutions
Creating perfect no bake cookie dough bars starts with selecting the right ingredients. The beauty of this recipe lies in its flexibility—allowing for various dietary
needs without sacrificing that authentic cookie dough taste.
Oat flour or almond flour
The foundation of these bars begins with either oat flour or almond flour. Oat flour provides a mild, slightly sweet flavor with a finer texture, making the bars softer
and more cake-like. Almond flour contributes a subtle nutty richness and creates a denser, more traditional cookie dough texture. Both work equally well, though
their properties differ slightly.
For those avoiding nuts, oat flour is the ideal choice. Simply blend rolled oats in a food processor until finely ground, or purchase pre-made oat flour for a
smoother consistency. If using almond flour, ensure you’re using blanched almond flour rather than almond meal for the best texture.
Nut or seed butter options
Cashew butter stands out as the preferred option because its neutral flavor creates the most authentic cookie dough taste. However, almond butter and peanut
butter work beautifully too. For a completely nut-free version, sunflower seed butter or tahini (sesame seed butter) make excellent substitutes, though they will
impart a stronger, distinct flavor.
Natural sweeteners like maple syrup
Pure maple syrup not only sweetens these bars but helps bind the ingredients together. Its sticky consistency eliminates the need for additional binders in many
recipes. Honey works well too (if not strictly vegan), as does agave nectar. The key is using a liquid sweetener rather than granulated sugar for proper texture.
Vegan chocolate chips
Mini chocolate chips distribute more evenly throughout the dough, creating that classic cookie dough experience. Brands like Enjoy Life and Lily’s offer excellent
dairy-free options that melt perfectly for the chocolate topping.
Optional add-ins and swaps
Vanilla extract is essential for authentic cookie dough flavor. A pinch of sea salt enhances sweetness—try flaked sea salt on top for a gourmet touch. Coconut oil
can add richness, though many recipes work without it. For extra texture, consider adding shredded coconut, chopped nuts, or even protein powder for a
nutritional boost.
Step-by-Step: How to Make No Bake Cookie Dough Bars
Let’s dive into the step-by-step process of creating these delicious no bake cookie dough bars. The beauty of this recipe lies in its simplicity—you’ll have a
delectable treat ready with minimal effort.
1. Prepare the dough base
Initially, I gather all my ingredients to streamline the process. For the quickest method, I use a food processor or high-powered blender to combine the
ingredients. This typically takes just 3-5 minutes until the mixture becomes sticky and holds together easily when pressed [7].
For the oat flour base, I first blend rolled oats until they transform into a fine flour (about 1-2 minutes in a high-powered processor) [2]. Next, I add the remaining
ingredients—nut butter, maple syrup, vanilla extract, and salt—and blend until a sticky dough forms [4].
Alternatively, if making a more traditional cookie dough, I cream butter and sugar together until fluffy, subsequently adding vanilla extract and milk before mixing
in the heat-treated flour [8]. Remember that raw flour needs to be heat-treated first—either microwave it for about 1 minute 15 seconds (stirring every 15 seconds)
or bake at 350°F for 5-6 minutes [9].
2. Press into pan and chill
First, I line my pan with parchment paper—this makes removal incredibly simple afterward. An 8×8 or 9×9 square pan works perfectly, although a medium loaf
pan is ideal for smaller batches [10].
Using slightly floured fingers or a flat-bottomed cup, I press the dough firmly into the pan, ensuring it reaches all corners [2]. If the dough feels too sticky to handle,
I chill it in the refrigerator for 15-20 minutes beforehand [2].
3. Make and add the chocolate topping
For the chocolate topping, I use either the microwave or double boiler method:
Microwave method: In a microwave-safe bowl, I heat chocolate chips with a bit of coconut oil in 25-30 second intervals, stirring between each until almost melted
[2].
Double boiler method: I simmer water in a saucepan, place a heatproof bowl on top (without touching the water), add chocolate and coconut oil, then whisk
frequently until melted [2].
Once melted, I pour the chocolate mixture evenly over the chilled dough base [8]. For extra flair, I sometimes drizzle additional melted peanut butter on top and
swirl it with a skewer or knife [11].
4. Freeze and slice
Finally, I return the pan to the freezer for 5-10 minutes to set the chocolate layer [4]. For best results, I chill the bars for at least 30 minutes total before slicing [10].
For clean-cut bars, I use a sharp knife warmed under hot water and quickly dried [12]. These bars keep beautifully in the refrigerator for up to 5 days [13] or in the
freezer for up to 3 months [8].
Tips for Success and Storage
Mastering these no bake cookie dough bars requires a few insider tips to achieve perfect results every time.
How to prevent sticky dough
Sticky dough typically indicates an imbalance in wet and dry ingredients [14]. To remedy this issue, I add a tablespoon or two of oat flour gradually until the dough
becomes manageable [14]. Alternatively, chilling the mixture in the refrigerator for 30 minutes firms it up nicely [14]. For easier handling, I coat my hands with
non-stick cooking spray [15].
Best pans and tools to use
Lining your pan with parchment paper is absolutely essential for easy removal [4]. I prefer using an 8×4-inch loaf pan for thicker bars, nonetheless an 8×8-inch
square pan works well for standard thickness [2]. Silicone muffin tins offer another excellent option, particularly for individual servings that pop out effortlessly [1].
How to store in fridge or freezer
These bars stay fresh in an airtight container in the refrigerator for up to 2 weeks [16]. Consequently, for longer storage, freezing is ideal—they maintain quality for
2-3 months [4]. Some recipes specifically recommend freezer-only storage to prevent softening [1].
Serving suggestions for best texture
For the ideal texture, let frozen bars thaw 5-10 minutes before serving [2]. This brief waiting period prevents the chocolate topping from cracking when cut [4].
Furthermore, I find that cutting with a sharp knife warmed under hot water produces clean, professional-looking slices [4].
Conclusion
These no-bake cookie dough bars truly stand out as a perfect treat for any occasion. Throughout this guide, we’ve seen how simple ingredients can transform into
a delicious dessert that accommodates virtually every dietary restriction while maintaining that classic cookie dough flavor everyone loves.
Most importantly, you don’t need any special culinary skills to create these bars. The entire process takes just 15 minutes of active preparation time, after which
your freezer does all the remaining work. Additionally, the recipe’s flexibility allows you to customize based on your dietary needs or flavor preferences.
Summer gatherings become much easier when you can prepare dessert without heating up your kitchen. Likewise, parents will appreciate having a healthier
alternative to store-bought treats that children still absolutely adore.
The storage options make these bars even more practical. You can prepare a batch on the weekend and enjoy them throughout the week, or freeze them for
months to have a delicious dessert ready whenever unexpected guests arrive.
Next time you’re craving that irresistible cookie dough texture and flavor, remember this simple recipe. After all, who could resist a treat that’s both indulgent and
wholesome, ready with minimal effort, and suitable for almost everyone? Give these no-bake cookie dough bars a try – your taste buds will certainly thank you!
FAQs
Q1. Are these no-bake cookie dough bars gluten-free? Yes, these no-bake cookie dough bars can be made gluten-free by using oat flour or almond flour as
the base. Both options work well and create a delicious gluten-free treat.
Q2. What’s the key to making these bars allergen-friendly? The versatility of ingredients allows for multiple substitutions. You can use sunflower seed butter
for nut-free versions, vegan chocolate chips for dairy-free, and oat flour for gluten-free. This makes the bars suitable for various dietary needs.
Q3. How long do these no-bake cookie dough bars last? When stored properly in an airtight container, these bars can last up to 2 weeks in the refrigerator.
For longer storage, they can be kept in the freezer for 2-3 months without losing quality.
Q4. Can I make these bars without a food processor? While a food processor makes the process quicker, you can still make these bars without one. Simply
mix the ingredients thoroughly in a bowl until you achieve a sticky dough consistency that holds together when pressed.
Q5. How do I prevent the bars from being too sticky? If your dough is too sticky, try adding a tablespoon or two of oat flour gradually until it becomes more
manageable. Alternatively, chilling the mixture in the refrigerator for about 30 minutes can help firm it up.