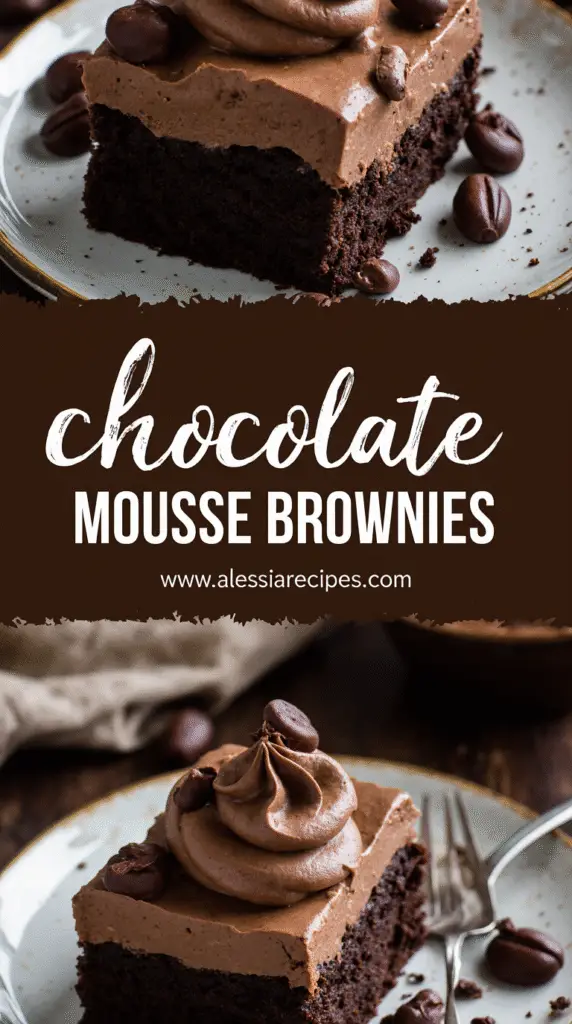
How to Make Chocolate Mousse Brownies: A Foolproof Guide for Perfect Results
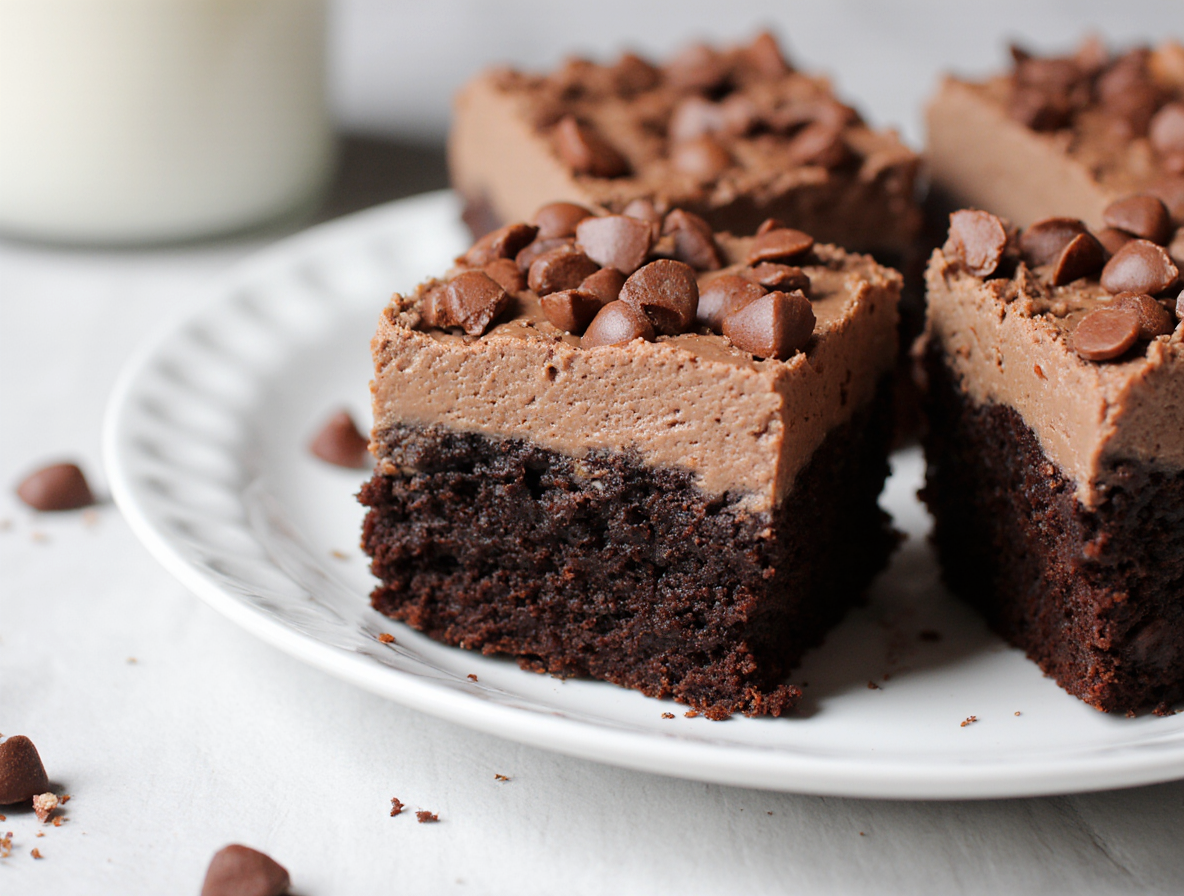
Chocolate mousse brownies have been tried by over 43,871 dessert enthusiasts, and it’s easy to see why. These seriously chocolate-y and decadent treats
combine two beloved desserts into one irresistible package.
Each layer fits together perfectly, bringing indulgence with every bite. The mousse is light and airy, but still rich and chocolate-y. If you’ve been searching for an
easy chocolate mousse brownies recipe that delivers foolproof results, we’ve got you covered. While these delectable treats do require some patience (about 2
hours 25 minutes from start to finish), the results are absolutely worth it.
What makes our chocolate mousse brownie recipe special? For starters, these brownies will last 3-4 days in the refrigerator when stored in an airtight container.
They can also be frozen for up to two months, making them perfect for advance preparation. At 573 calories per serving, they’re definitely an indulgent treat, but
one that delivers on both satisfaction and flavor.
In this guide, I’ll walk you through exactly how to make chocolate mousse brownies that will impress your family and friends. From selecting the right ingredients
to mastering the perfect mousse consistency, we’ll cover everything you need to know.
Gathering the Right Ingredients
The foundation of perfect chocolate mousse brownies begins with selecting quality ingredients. Getting these elements right ensures your dessert will have that
professional bakery taste every time.
Essential ingredients for brownie base
For fudgy, melt-in-your-mouth brownies, you’ll need a few key ingredients. Unsalted butter provides richness and contributes to that dense, fudgy texture we all
love. Most recipes call for between 1/2 cup (115g) to 3/4 cup (170g) of butter [1]. Granulated sugar balances the chocolate flavor—typically 1 to 2 cups depending
on your sweetness preference.
Eggs are crucial as they provide structure and moisture. Generally, 2-4 large eggs work best, preferably at room temperature for better incorporation [2]. For the
dry ingredients, you’ll need all-purpose flour (1/2 to 3/4 cup), unsweetened cocoa powder (around 1/3 to 1/2 cup), and small amounts of salt and baking powder.
Many professional bakers recommend adding a teaspoon of vanilla extract for depth. Furthermore, some recipes include a secret ingredient—instant espresso
powder—which enhances the chocolate flavor without making brownies taste like coffee [3].
What makes a good chocolate mousse
Great chocolate mousse strikes the perfect balance between lightness and richness. Essentially, it comes down to three approaches: whipped cream with
chocolate, adding meringue (whipped egg whites), or incorporating pâte à bombe (whipped egg yolks) [4].
The simplest version combines heavy whipping cream with melted chocolate. For additional airiness, some recipes use miniature marshmallows (about 3/4 cup)
[1] or unflavored gelatin as stabilizers [5]. Quality matters here—the mousse is only as good as the chocolate you use.
Choosing the right chocolate and cream
This is where many home bakers go wrong. Always use cooking chocolate from the baking aisle—not eating chocolate from the confectionery section [4]. Cooking
chocolate melts more smoothly and is specifically formulated for baking.
For a balanced, bittersweet flavor, 70% cocoa dark chocolate works beautifully [4][6]. Brands like Ghirardelli, Valrhona, or Guittard deliver superior results [2][4].
As for cream, you must use full-fat cream that can be whipped—look for labels specifying “heavy cream” (35-40% fat), “heavy whipping cream,” or “thickened
cream” [4]. Regular whipping cream (30% fat) can work but yields a lighter mousse [2].
Optional toppings and garnishes
Consider topping your masterpiece with a glossy chocolate ganache made from equal parts heavy cream and chopped chocolate [1]. Other delightful finishing
touches include chocolate curls, a light dusting of cocoa powder, or chopped nuts [4][5]. For special occasions, edible flowers or chocolate-covered coffee beans
add an elegant touch [7].
Step-by-Step: Making the Brownie Layer
Creating the perfect foundation for chocolate mousse brownies begins with mastering the brownie layer. This essential base provides rich chocolate flavor and
the perfect texture to complement the airy mousse topping.
Mixing the dry and wet ingredients
The process of mixing your brownie batter significantly impacts the final texture. Initially, combine melted butter with sugar in a large bowl until well blended.
Subsequently, add eggs one at a time and vanilla extract, whisking until the mixture becomes silky smooth [4]. In a separate bowl, whisk together flour, cocoa
powder, salt, and baking powder. Some recipes include cornstarch for a chewier texture that mimics box-mix brownies [8].
The key technique here is gentle folding. Once you add the dry ingredients to the wet mixture, fold just until combined—overmixing can result in dense, tough
brownies rather than fudgy ones [4]. For uniformly distributed chocolate flavor, some bakers prefer processing all dry ingredients in a food processor until powdery
fine [1].
Baking tips for a fudgy texture
For truly fudgy chocolate mousse brownies, maintain a higher ratio of fat and sugar to flour [9]. Preheat your oven to 350°F (175°C) and line an 8×8-inch baking
pan with parchment paper for easy removal [4].
Pour the batter into your prepared pan and spread it evenly into the corners. Bake for approximately 20-30 minutes, though timing varies depending on your pan
material [1]. Rather than timing, look for these doneness indicators:
• Edges pulling away from the sides
• Center still slightly jiggly
•
Toothpick inserted comes out with a few moist crumbs (not wet batter) [4]
Remember, underbaking slightly is better than overbaking—brownies continue cooking as they cool [9].
Cooling the brownie base properly
Before proceeding to the mousse layer, cooling is crucial. Allow the brownies to cool inside the pan on a wire rack [4]. This initial cooling period lets residual heat
finish the cooking process [10].
For chocolate mousse brownies, complete cooling is essential before adding the mousse layer. Though many recipes suggest 15-30 minutes minimum cooling
time, for best results, allow 1-2 hours or even overnight cooling [11]. This patience is rewarded with better flavor development and proper texture, making the next
steps much easier to execute [10].
Step-by-Step: Making the Chocolate Mousse
After perfecting your brownie base, the magic of chocolate mousse brownies comes alive with the creamy, airy top layer. The secret to superior mousse lies in
proper technique and timing.
Melting chocolate and combining with cream
The first step toward heavenly mousse involves melting chocolate properly. In a microwave-safe bowl, heat ½ cup of heavy cream for approximately 50 seconds
[2]. Add chocolate chips directly to the warm cream and gently stir until completely melted and smooth, which typically takes 1-2 minutes [2]. Alternatively, use a
double boiler method by placing chocolate and cream in a heatproof bowl over simmering water, stirring occasionally.
Once melted, set the mixture aside to cool completely to room temperature—about 15 minutes [12]. This cooling step is critical; if the chocolate remains too hot
when combined with whipped cream, it will deflate your mousse [13].
Whipping cream to soft peaks
Meanwhile, pour the remaining 1 cup of heavy cream into a medium bowl [2]. Using an electric mixer or stand mixer fitted with the whisk attachment, beat the
cream until stiff peaks form [2]. For optimal whipping, consider chilling your bowl and beaters in the freezer for about 20 minutes beforehand [14].
Folding techniques to keep mousse airy
Folding requires patience and proper technique. First, ensure your chocolate mixture has cooled properly. Then add about one-third of the whipped cream to the
chocolate mixture to lighten it [4]. Using a rubber spatula, gently fold with a lifting and scooping motion [12]. Continue adding the remaining whipped cream in small
batches, folding just until combined [14].
Spreading mousse over cooled brownies
Finally, pour your completed mousse over the completely cooled brownie base [2]. Using an offset spatula, spread the mousse into an even layer [4]. Refrigerate
for at least 1-2 hours or until firmly set [13]. This chilling period allows the mousse to develop its signature texture—the colder it is, the more firm it becomes [12].
Finishing Touches and Storage Tips
The finishing touches elevate chocolate mousse brownies from delicious to extraordinary. Let’s perfect those final details that make all the difference.
Optional ganache or chocolate drizzle
A glossy ganache creates an elegant finishing touch. Combine 1/2 cup chocolate chips with 1/4 cup hot heavy cream in a microwave-safe bowl [15]. Let stand for
5 minutes before whisking until smooth [6]. Pour this silky sauce over the chilled mousse layer, spreading evenly with an offset spatula [4]. Return to the
refrigerator for an hour to set properly [4].
How to slice cleanly for presentation
For bakery-worthy slices, use a long, straight-edged knife rather than a serrated one [16]. Run the blade under very hot water and carefully wipe it dry between
each cut [16]. Make confident, long strokes without sawing motions [17]. Alternatively, a pizza cutter sprayed with cooking spray works wonderfully for perfect
squares [17].
Refrigeration and freezing guidelines
Store chocolate mousse brownies in an airtight container in the refrigerator for 3-4 days [2]. Interestingly, the longer they’re stored, the more fudgy the brownie
layer becomes due to moisture from the mousse [7]. Although opinions vary, these treats can be frozen for up to two months [2]. Always thaw frozen brownies in
the refrigerator overnight, never at room temperature [2].
Serving suggestions for best flavor
Serve these decadent treats with a light dusting of cocoa powder [18]. A dollop of whipped cream or fresh berries adds contrasting flavors [4]. For special
occasions, try pairing with vanilla ice cream [18] or garnish with chocolate-covered coffee beans [7]. Wine enthusiasts might appreciate a Cabernet Sauvignon,
which beautifully accentuates the chocolate flavors [19].
Conclusion
Chocolate mousse brownies truly represent the perfect marriage of two beloved desserts. Throughout this guide, we’ve explored every aspect of creating these
indulgent treats, from selecting premium ingredients to mastering proper techniques. Most importantly, patience proves essential at several stages—cooling the
brownie base completely, gently folding the mousse, and allowing proper refrigeration time.
After mastering this recipe, you’ll understand why these brownies have captivated thousands of dessert enthusiasts worldwide. The contrast between the fudgy
brownie base and the light, airy chocolate mousse creates a textural symphony that makes each bite truly satisfying. Additionally, their impressive appearance
belies how straightforward they are to make when following proper techniques.
Remember that quality ingredients make all the difference, especially when choosing chocolate and cream. Your careful attention to each step will reward you
with bakery-quality results that can be enjoyed immediately or stored for later indulgence. Therefore, gather your ingredients, set aside some time, and prepare to
create a dessert that will undoubtedly become a favorite among family and friends. The smiles and compliments you’ll receive certainly justify every minute spent
crafting these delectable chocolate mousse brownies!
FAQs
Q1. How long do chocolate mousse brownies stay fresh? When stored in an airtight container in the refrigerator, chocolate mousse brownies can stay fresh
for 3-4 days. They can also be frozen for up to two months if you want to prepare them in advance.
Q2. What’s the secret to making fudgy brownies? The key to fudgy brownies is maintaining a higher ratio of fat and sugar to flour. Also, slightly underbaking is
better than overbaking, as brownies continue to cook as they cool. Look for edges pulling away from the sides and a center that’s still slightly jiggly when done.
Q3. How can I ensure my chocolate mousse is light and airy? To keep your chocolate mousse light and airy, use proper folding techniques. Gently fold
whipped cream into the cooled chocolate mixture using a lifting and scooping motion. Add the whipped cream in small batches and fold just until combined to
maintain the airy texture.
Q4. What type of chocolate should I use for the best results? For the best results, use cooking chocolate from the baking aisle, not eating chocolate from the
confectionery section. A 70% cocoa dark chocolate works well for a balanced, bittersweet flavor. Brands like Ghirardelli, Valrhona, or Guittard are recommended
for superior results.
Q5. How can I get clean, presentable slices when cutting the brownies? For clean, presentable slices, use a long, straight-edged knife. Run the blade under
very hot water and wipe it dry between each cut. Make confident, long strokes without sawing motions. Alternatively, a pizza cutter sprayed with cooking spray
can work well for perfect squares.