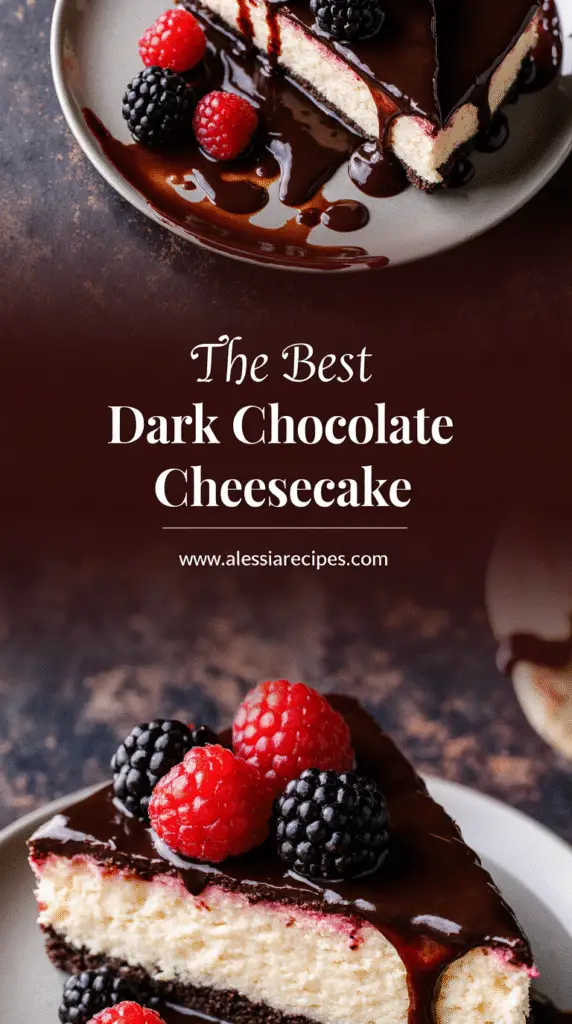
How to Make Dark Chocolate Raspberry Cheesecake: A Baker’s Secret Guide
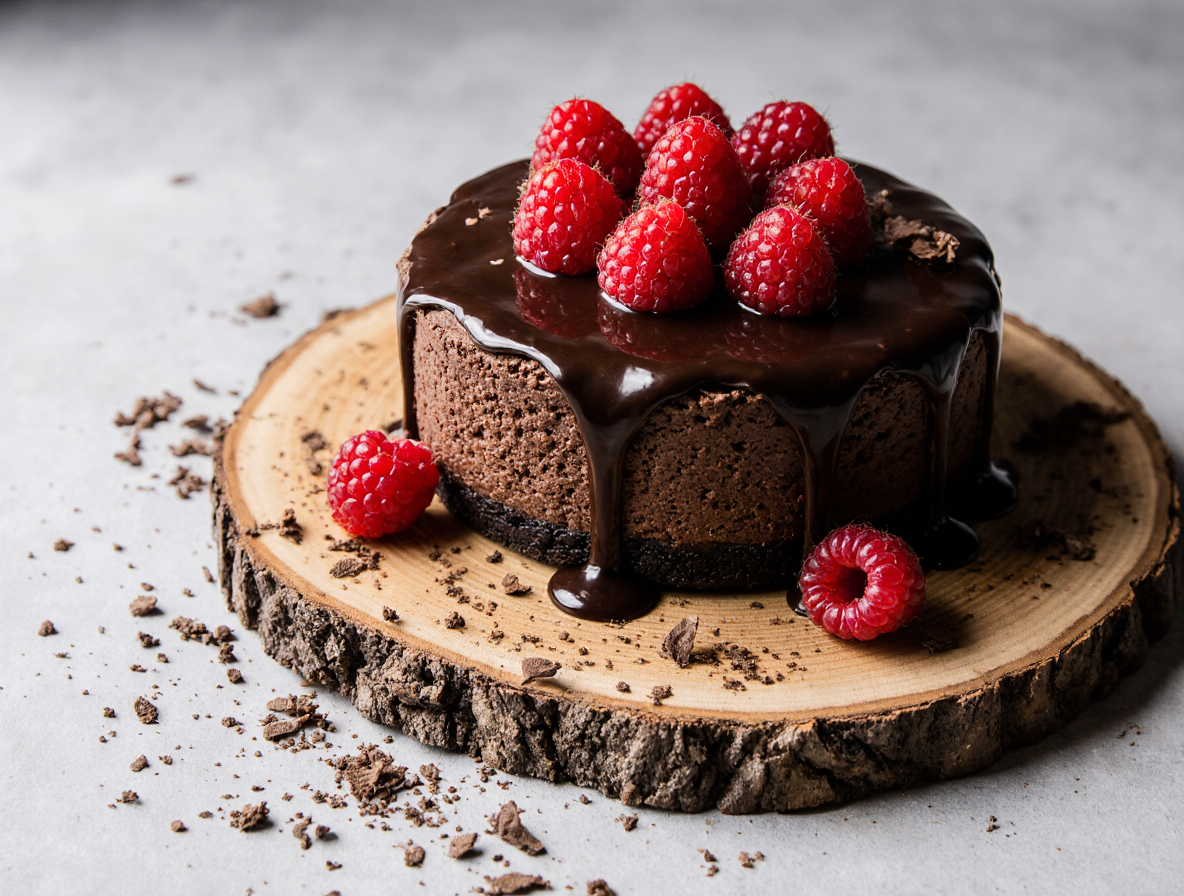
Have you ever tasted a dark chocolate raspberry cheesecake that’s pure decadence in every bite? This rich, creamy dessert combines the intensity of chocolate
with refreshing raspberry pockets, creating one of the best-tasting, silky smooth treats I’ve ever encountered.
Surprisingly, this recipe is super simple to make, despite its impressive appearance. We’ll be crafting a chocolate cookie crust (using whole Oreos—cream filling
and all!) and filling it with a luscious mixture of chocolate, cream cheese, sugar, and fresh raspberries. The most difficult part? Certainly having the patience to
wait for it to chill before diving in.
In this guide, I’ll walk you through creating a dark chocolate raspberry cheesecake that’s swirled with homemade raspberry sauce and baked to perfection in a
water bath. Whether you prefer a raspberry dark chocolate cheesecake with fresh berries or a dark chocolate raspberry swirl cheesecake with a beautiful coulis
pattern, I’ve got you covered with all the baker’s secrets you need for success.
Gathering Ingredients and Tools
Preparing to make a dark chocolate raspberry cheesecake begins with gathering all the necessary ingredients and tools. Once you have everything ready, the
baking process becomes much more enjoyable and efficient.
Essential ingredients for crust, filling, and ganache
The foundation of any great dark chocolate raspberry cheesecake starts with quality ingredients. For the crust, you’ll need either chocolate sandwich cookies
(Oreos work perfectly) or graham crackers, along with melted butter. Some recipes add cocoa powder to intensify the chocolate flavor.
The star of the filling is cream cheese—you’ll need 3-4 packages (8 ounces each) at room temperature for the smoothest results. Additionally, gather sugar
(granulated or powdered), eggs, vanilla extract, and high-quality dark or semi-sweet chocolate. Many recipes incorporate a small amount of flour to stabilize the
filling.
For the raspberry element, you’ll need fresh or frozen raspberries. Furthermore, heavy cream is essential both for the filling and the ganache topping. The
ganache typically consists of chocolate chips or chopped chocolate bars, heavy cream, and occasionally a touch of vanilla.
Recommended tools for smooth preparation
Creating a perfect dark chocolate raspberry swirl cheesecake requires several specialized tools:
1.
A 9-inch or 10-inch springform pan with removable sides [1]
2. A hand mixer or stand mixer for achieving silky-smooth filling
3. A food processor for crushing cookies for the crust
4. A flat-bottomed measuring cup or tamper for pressing the crust evenly
5. A large roasting pan for the water bath (crucial for preventing cracks)
6. Various mixing bowls and silicone spatulas for folding ingredients gently
Choosing between fresh and frozen raspberries
When making a dark chocolate and raspberry cheesecake, the type of berries you use matters significantly. Frozen raspberries are flash-frozen at peak ripeness,
often retaining more vitamins and antioxidants than fresh berries that lose nutrients during transport and storage [2]. Moreover, they typically cost less than fresh,
especially when raspberries are out of season [2].
However, for certain recipes, fresh raspberries provide better results. One baker noted that using frozen raspberries in the filling made the cheesecake “kind of
mushy” with mild flavor [3]. If using frozen berries in baked goods, remember they release more liquid than fresh ones, potentially requiring additional thickening
agents [4]. Another option is cooking frozen raspberries down into a thick sauce or compote before adding them to your dark chocolate raspberry cheesecake
recipe.
Ultimately, while fresh raspberries often work best in the filling itself, frozen berries make an excellent choice for sauces and toppings, giving you flexibility based
on availability and budget.
Making the Perfect Chocolate Crust
The foundation of any spectacular dark chocolate raspberry cheesecake lies in its crust—a crisp, flavorful base that complements the creamy filling perfectly.
Creating this essential component requires attention to detail and proper technique.
Oreo vs graham cracker base
Choosing between Oreo and graham cracker bases comes down to personal preference and desired chocolate intensity. For an Oreo crust, use 30 standard
Oreo cookies (340 grams) with the cream filling intact and 4 tablespoons (57 grams) of butter. Notably, Double-Stuf Oreos should be avoided as they make the
crust too soft and greasy. Alternatively, a chocolate graham cracker crust requires 15 full rectangular sheets (225 grams) or one cup of pre-ground crumbs mixed
with more butter for proper binding. Can’t find chocolate graham crackers? Simply use regular ones with added cocoa powder or substitute chocolate Teddy
Grahams at a 1:1 ratio.
How to press and pre-bake the crust
First, process your chosen cookies or crackers into fine, sand-like crumbs using a food processor. Next, thoroughly mix with melted butter until the mixture holds
together when squeezed in your fist. Press this mixture firmly into the bottom and about halfway up the sides of a 9-inch springform pan. Properly packed crusts
prevent breaking when served, so use a flat-bottomed measuring cup to achieve an even layer without packing too tightly. Subsequently, pre-bake the crust at
325°F for 8-10 minutes until fragrant, then allow it to cool slightly before adding the filling.
Tips to prevent soggy bottoms
Undoubtedly, nobody wants a soggy crust beneath their dark chocolate raspberry cheesecake. Blind baking creates a moisture barrier, essentially sealing the
crust before adding wet fillings. For exceptional results, place your crust on a preheated baking sheet—this quick heat exposure helps set the crust rapidly.
Creating additional barriers helps too; try brushing the cooled crust with melted chocolate, allowing it to harden before adding filling. Alternatively, an egg white
wash during the final minutes of blind baking creates a glossy, protective layer. Metal pans generally produce crispier crusts than glass ones due to better heat
conduction.
Crafting the Dark Chocolate Raspberry Filling
The filling forms the heart of any dark chocolate raspberry cheesecake, where rich chocolate meets tangy berries in perfect harmony. Creating this luxurious
center requires precision and technique to achieve that silky-smooth texture everyone craves.
Melting chocolate and prepping cream cheese
Creating the perfect filling begins with properly melting high-quality chocolate. Ideally, use a double boiler over low to medium heat, stirring occasionally with a
rubber spatula until completely smooth. Never overheat the chocolate as it can seize and become unusable. For dark chocolate raspberry cheesecake, 60-70%
dark chocolate delivers optimal richness, though semi-sweet (50-60%) works for a milder flavor.
Meanwhile, the cream cheese must be at room temperature and full-fat for the best texture. Beat it on medium-high speed for 2-3 minutes until fluffy, stopping to
scrape the bowl after the first minute. Next, add sugar and continue mixing at medium speed for another 2 minutes. Once smooth, fold in your cooled melted
chocolate, scraping the bowl thoroughly.
Layering with fresh raspberries or raspberry swirl
For a raspberry swirl cheesecake, prepare a homemade sauce by cooking raspberries with sugar until thickened. After straining out seeds, you can create
stunning patterns throughout your dessert. Initially, pour half the cheesecake batter into your crust, then drizzle some raspberry sauce on top. Add the remaining
batter, followed by more sauce on the surface. Use a toothpick or skewer to create beautiful swirls without overmixing.
Avoiding overmixing and air bubbles
Preventing air bubbles requires careful technique:
• Add eggs one at a time, mixing just until combined
• Beat ingredients at low speed once eggs are incorporated
• Scrape the bowl frequently (5-6 times throughout mixing)
• Stop mixing as soon as ingredients are incorporated
Overmixing introduces excess air which leads to cracks during baking. Additionally, the egg incorporation step deserves special attention as eggs and fat don’t
naturally mix well. Taking your time here ensures a perfectly smooth dark chocolate raspberry cheesecake filling.
Baking, Cooling, and Decorating Like a Pro
The final steps in creating a perfect dark chocolate raspberry cheesecake involve careful baking, patient cooling, and artistic decoration. These stages transform
your raw ingredients into a professional-quality dessert worth showcasing.
Using a water bath to prevent cracks
First, wrap your springform pan in 2-3 layers of heavy-duty aluminum foil, ensuring it comes up high along the sides to prevent water seepage. Place the wrapped
pan inside a larger roasting pan, then fill with hot water until it reaches halfway up the sides of the springform. This humid environment helps the cheesecake
bake evenly without drying out or cracking.
Cooling techniques to avoid collapse
Once baked until the edges are set but the center still jiggles slightly, turn off the oven without opening the door. Let the cheesecake rest inside for about 45-60
minutes. Afterward, crack the oven door slightly and allow another 30-60 minutes of gradual cooling. This slow process prevents the dreaded center collapse that
happens with sudden temperature changes.
Making and applying chocolate ganache
For a luxurious topping, place chocolate chips in a heatproof bowl. Heat heavy cream until nearly boiling, then pour over the chocolate. Let sit undisturbed for 2
minutes before stirring until smooth. Pour this glossy ganache over the completely chilled cheesecake, allowing it to set in the refrigerator for another hour.
Optional raspberry coulis or swirl topping
A vibrant raspberry coulis adds both visual appeal and tangy contrast. Simply cook raspberries with sugar until thickened, then strain to remove seeds. This
versatile sauce can be drizzled artfully over individual slices or swirled into the ganache before it sets.
Serving and slicing tips
For professional-looking slices, dip a sharp knife in hot water before each cut, wiping the blade clean between slices. This heating technique allows the knife to
glide smoothly through the dense cheesecake without dragging or creating messy edges.
Conclusion
Dark chocolate raspberry cheesecake truly stands as one of the most impressive desserts you can create at home. Throughout this guide, we’ve explored every
step of the process, from selecting quality ingredients to achieving that perfect slice. Most importantly, what appears complex actually breaks down into
manageable steps anyone can master.
The combination of rich chocolate and tart raspberries creates a flavor profile that balances sweetness with complexity. Additionally, the techniques we’ve
covered—properly pre-baking the crust, using a water bath, and cooling gradually—ensure professional results without professional training.
Patience certainly remains the key ingredient in this recipe. After all, allowing proper cooling time prevents cracks and collapses, while giving flavors time to
develop fully. Your efforts will undoubtedly pay off when you present this stunning dessert to friends and family.
Whether you choose fresh berries for the filling or opt for a beautiful raspberry swirl, your dark chocolate raspberry cheesecake will become a signature dessert
worth sharing. Therefore, gather your ingredients, prepare your springform pan, and enjoy the process of creating this decadent treat. The only thing better than
making this cheesecake is finally getting to enjoy that first perfect slice!
FAQs
Q1. What’s the secret to a perfect chocolate crust for a raspberry cheesecake? For a perfect chocolate crust, use either Oreo cookies (with cream intact) or
chocolate graham crackers. Process them into fine crumbs, mix with melted butter, and press firmly into the pan. Pre-bake the crust at 325°F for 8-10 minutes to
prevent sogginess.
Q2. How can I prevent my cheesecake from cracking during baking? Use a water bath by wrapping your springform pan in foil and placing it in a larger pan
filled with hot water. This creates a humid environment for even baking. Also, avoid overmixing the batter and cool the cheesecake gradually in the oven to
prevent sudden temperature changes.
Q3. What’s the best way to incorporate raspberries into a dark chocolate cheesecake? You can either layer fresh raspberries into the filling or create a
raspberry swirl. For a swirl, prepare a homemade raspberry sauce and drizzle it over the batter in layers. Use a toothpick to create beautiful swirl patterns without
overmixing.
Q4. How long should I cool my cheesecake before serving? Cooling should be a gradual process. After baking, let the cheesecake rest in the turned-off oven
for about an hour, then crack the door and cool for another 30-60 minutes. Finally, refrigerate for several hours or overnight before serving for the best texture and
flavor.
Q5. What’s the best way to slice a cheesecake for clean, professional-looking cuts? For clean slices, dip a sharp knife in hot water before each cut. Wipe
the blade clean between slices. This heating technique allows the knife to glide smoothly through the dense cheesecake without dragging or creating messy
edges.