How to Make Perfect Pasta Bread Bowls: A Step-by-Step Guide
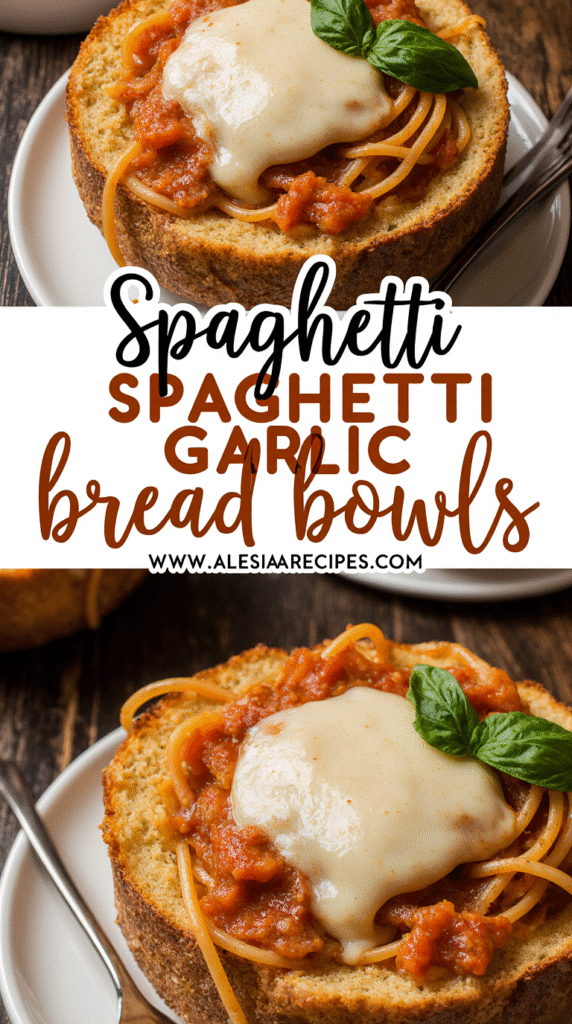
Looking for a fun twist on pasta bread bowls that will shake up your dinner routine? These hearty, cheesy creations are absolutely perfect for bringing excitement back to spaghetti night!
We’ve discovered that pasta in bread bowls isn’t just delicious – it’s versatile too. Whether you’re serving a spaghetti bread bowl as an appetizer or making garlic bread bowls for the main course, they’re a hit with everyone. Kids especially love these interactive meals, and they can even help prepare them! Our pasta bread bowl recipe requires just a quarter (4 ounces) of spaghetti from a standard 16-ounce box, making it perfectly portioned and economical.
In this step-by-step guide, we’ll walk you through selecting the right crusty rolls (they should almost sound hollow when tapped), preparing flavorful garlic butter, and assembling these edible vessels that transform ordinary pasta into an extraordinary dining experience. Let’s dive in and create something both delicious and fun!
Choose the Right Bread for Your Pasta Bowl
The foundation of any successful pasta bread bowl lies in selecting the perfect bread. Unlike ordinary bread choices, pasta vessels demand specific qualities to maintain structural integrity while complementing your dish.
Best types of bread to use
Selecting the right bread makes all the difference between a soggy disappointment and a perfectly structured pasta bread bowl. Sourdough loaves stand out as the premier choice, thanks to their naturally thick crust and slight tang that beautifully complements both creamy and tomato-based sauces. Italian boules offer another excellent option with their sturdy exterior and soft inner crumb, creating that perfect balance of crispy outside and tender inside.
For individual servings, consider these reliable options:
- Kaiser rolls (5-6 inch diameter) for personal portions
- Crusty white rolls that sound hollow when tapped
- Ciabatta bread, particularly from specialty stores
- Round artisan breads labeled as “crusty”
Avoid using brioche, sandwich loaves, or pre-sliced bread as they’re simply too soft and will collapse under the weight of hot pasta. These softer varieties lack the structural integrity needed to hold pasta without leaking through.
How to test for crustiness and structure
A proper bread bowl should have a crust approximately 1-inch thick to offer optimal protection against moisture. To test potential candidates, tap the exterior—a quality bread bowl will produce a hollow sound, indicating proper structure. This sound test reveals whether the bread has the necessary density to withstand hot pasta.
Additionally, examine the interior crumb. The ideal bread features a chewy, dense interior that holds fillings without leaking. Furthermore, authentic crusty bread should crackle in your hand with even a gentle squeeze, demonstrating the perfect exterior hardness.
Tips for pre-baking soft rolls
If you’ve purchased rolls that seem slightly too soft, don’t worry—this common issue has simple solutions. Place them in an oven at 350°F for about 5 minutes to dry them out and firm up their structure before hollowing. Subsequently, after cutting and hollowing your bread bowl, brush the interior with olive oil and a sprinkle of garlic powder—this creates a crucial moisture barrier.
For optimal results, pre-bake your prepared bread bowls at 375°F for 8-10 minutes before adding pasta. This additional step crisps the interior, creating a protective layer against sauce seepage. Alternatively, for extra crustiness, place a bowl of water beneath your baking sheet during cooking—the steam creates an exceptionally crusty exterior.
After baking, allow your bread to cool on a high rack so moisture can escape through the bottom while the crust maintains its crispiness. This final step ensures your pasta bread bowl maintains structural integrity throughout the meal.
Cook the Pasta and Make the Sauce
Perfect pasta preparation forms the heart of a successful pasta bread bowl. Once your bread vessels are ready, these next steps will determine how delicious your final creation becomes.
Choosing the right pasta type
When selecting pasta for bread bowls, shape matters considerably. Sturdy pasta types that can hold sauce work exceptionally well. I recommend penne or rigatoni as ideal choices since they capture sauce in their ridges and tubes while maintaining structural integrity. These shapes also make eating from a bread bowl more manageable than long noodles. For classic versions, a quarter box (about 4 ounces) of spaghetti makes approximately 2 heaping cups of cooked pasta – perfect for individual servings.
Making a quick meat or vegetarian sauce
For a simple meat sauce, heat olive oil in a large pan and sauté onion until softened. Add ground beef and cook until browned, breaking it up as you go. Stir in tomato paste, then add tomato sauce, diced tomatoes, and seasonings like oregano, basil, and salt. Simmer uncovered for about 25 minutes until thickened.
Alternatively, create a nutritious vegetarian sauce by roasting vegetables like carrots, zucchini, peppers, and tomatoes until softened. Blend them with soaked cashews and vegetable broth for a creamy result. This approach cleverly “hides” vegetables while creating a rich, flavorful base. Season with Italian herbs and garlic for authentic taste.
Balancing moisture to avoid soggy bread
The key challenge with pasta bread bowls is preventing sogginess. Initially, cook pasta precisely until al dente—slightly firm when bitten—since it will continue cooking slightly when combined with hot sauce. Moreover, thicker sauces work better than thinner ones, since creamy or hearty sauces take longer to soak into bread.
Finally, avoid adding excess pasta water to your sauce. Instead, if thinning is necessary, use minimal broth or let the sauce reduce longer if it’s too watery. Remember to combine pasta with sauce thoroughly in a separate bowl first, then spoon the mixture into your prepared bread bowls just before serving to minimize moisture contact time.
Prepare and Flavor the Bread Bowl
Transforming regular bread into edible vessels requires precision and technique. With the right approach, your pasta bread bowl will hold its contents perfectly without becoming soggy.
How to hollow out the bread bowl safely
Creating the perfect cavity begins with a sharp serrated knife. Slice off the top inch of your bread, angling slightly toward the center. Next, carefully cut around the interior about 1/2 inch from the edge, being cautious not to pierce through the bottom. Gently remove the inner bread using your hands with a twisting motion. Save these bread pieces for homemade croutons or for dipping into your pasta sauce.
Making garlic butter for brushing
Elevate your pasta bread bowl by preparing flavorful garlic butter. Combine softened butter with minced garlic, Parmesan cheese, and seasonings like Italian herbs, black pepper, and paprika. Mix thoroughly until well-blended. This savory mixture adds remarkable depth to your bread bowl experience and creates a moisture barrier that helps maintain structural integrity.
Toasting the bread for extra crispiness
Once hollowed, place your bread bowls back on a baking sheet and toast at 375°F for 8-10 minutes. This crucial step dries out the interior, creating a protective barrier against sauce seepage. For added flavor, brush the entire interior with your prepared garlic butter mixture. Properly toasted bread bowls will develop a golden-brown interior that significantly enhances both texture and taste.
Assemble and Bake the Pasta Bread Bowls
The assembly stage represents the exciting moment when all components come together to create your delectable pasta bread bowl. Now that your bread and pasta are ready, it’s time to combine them into an impressive dish.
Layering cheese, pasta, and sauce
Creating the perfect pasta bread bowl requires strategic layering for optimal flavor. Begin by adding a tablespoon of shredded mozzarella to the bottom of each prepared bread bowl. This creates a protective cheese barrier that helps prevent sogginess. Next, spoon approximately ½ cup of your pasta and sauce mixture into each bowl. For larger family-style servings, use a heaping amount of pasta. Finish with another generous tablespoon of cheese on top for that perfect melty finish.
Baking time and temperature
For perfectly baked pasta bread bowls, preheat your oven to 400°F. Place your filled bread bowls on a baking sheet and bake for 7-10 minutes or until golden brown with melted cheese. Alternatively, some recipes suggest baking at 350°F for 5 minutes. Yet for family-style bread bowls, consider covering with foil and baking 30-35 minutes. Watch carefully as bread can quickly over-brown.
Final garnishes and serving tips
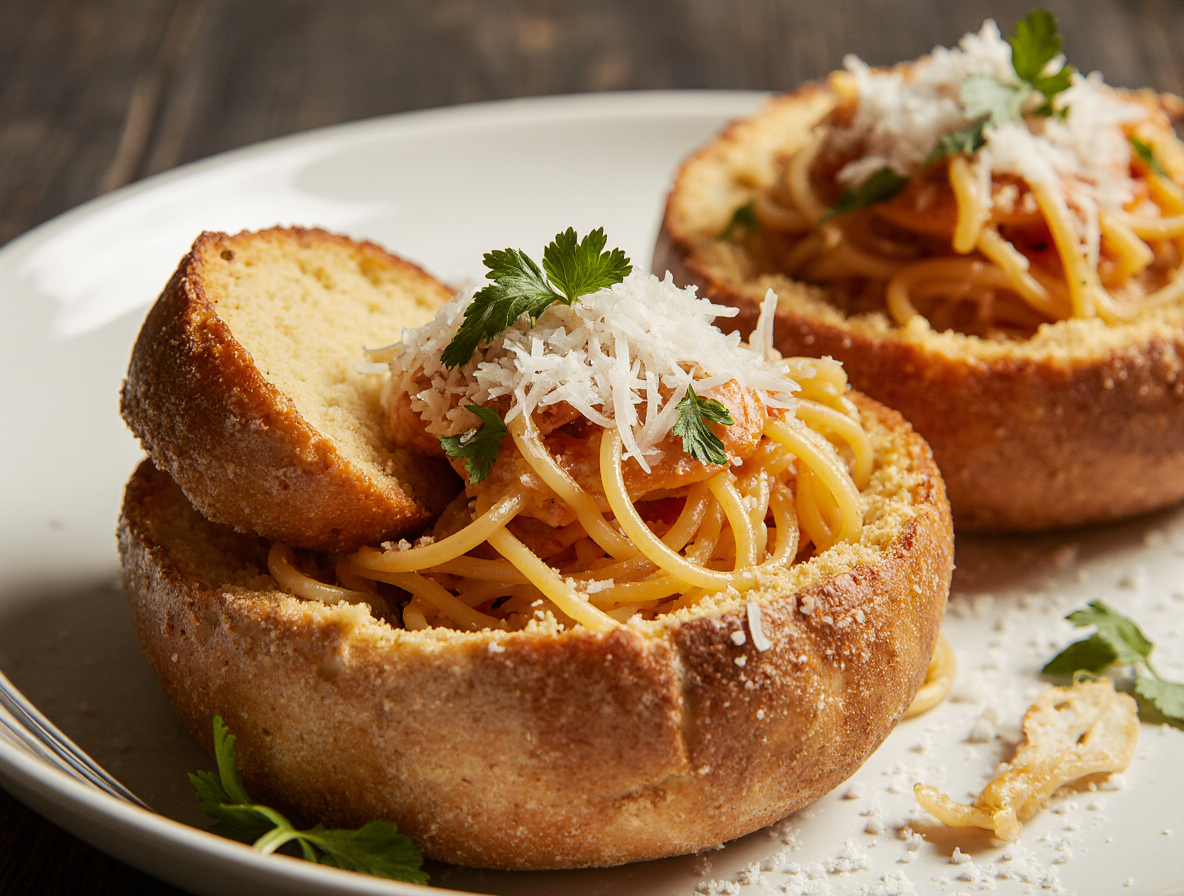
Freshly chopped parsley makes an excellent garnish, adding both color and flavor. Beyond that, consider dusting with additional Romano or Parmesan cheese. For a dramatic presentation, place the bread top at the back of each bowl like a “backboard” which crisps nicely during baking. Pasta bread bowls can be served individually or family-style by slicing larger bowls into pizza-like wedges after baking.
Conclusion
Pasta bread bowls truly transform an ordinary pasta dinner into something special and interactive. Throughout this guide, we’ve walked through every crucial step needed for perfect results. Choosing the right crusty bread makes all the difference, specifically sourdough or Italian boules that provide that essential structural integrity. Additionally, proper hollowing techniques and pre-toasting create the foundation for a successful dish.
The pasta itself deserves equal attention, particularly when cooking it precisely al dente and pairing it with thicker sauces that won’t immediately soak through your bread. This balance prevents the dreaded soggy bowl that can ruin the experience. Furthermore, our garlic butter mixture adds remarkable flavor while creating an important moisture barrier.
Perhaps most importantly, these edible vessels offer versatility few other dishes can match. Families particularly appreciate how these bread bowls turn regular spaghetti night into something memorable. Kids love the interactive nature of eating both the pasta and the container afterward. You can easily customize each bowl to individual preferences, making this recipe perfect for pleasing everyone at your table.
We hope you’ll try these pasta bread bowls for your next family dinner or gathering. The combination of hearty pasta, flavorful sauce, melted cheese, and crusty bread creates a comfort food experience that’s both fun and delicious. Happy cooking!
FAQs
Q1. How can I prevent my bread bowl from becoming soggy? To keep your bread bowl crisp, toast it in the oven before filling, brush the interior with olive oil or garlic butter, and use thicker sauces. Also, avoid adding excess pasta water to your sauce and combine the pasta with sauce separately before adding to the bread bowl.
Q2. What characteristics make an ideal pasta bowl? The perfect pasta bowl is wide, shallow, and has high walls. It should have a flat base with ample surface area for spreading the dish. For bread bowls specifically, choose crusty bread like sourdough or Italian boules that can withstand hot pasta without collapsing.
Q3. What’s the best way to hollow out a bread bowl? Use a sharp serrated knife to cut off the top inch of the bread, angling slightly towards the center. Then, carefully cut around the interior about 1/2 inch from the edge, being careful not to pierce through the bottom. Gently remove the inner bread using your hands with a twisting motion.
Q4. How should I assemble and bake my pasta bread bowl? Start by adding a layer of shredded cheese to the bottom of the prepared bread bowl. Then, add your pasta and sauce mixture, followed by another layer of cheese on top. Bake at 400°F for 7-10 minutes or until golden brown with melted cheese.
Q5. What are some serving tips for pasta bread bowls? Garnish with freshly chopped parsley and additional grated cheese for extra flavor. For a dramatic presentation, place the bread top at the back of each bowl like a “backboard.” You can serve individually or family-style by slicing larger bowls into wedges after baking.